So another car upgrade post! With really only a few more car things to go and I promise I’ll get more photography and story stuff going soon. I’m just heavily in prep stages and the car work needs to get addressed!
Today it’s all about adding an onboard air compressor, which will definitely come in handy!
Why Install a compressor?
Tire pressure needs vary depending the terrain. Typically one might be in the range of 30-40 psi on normal roads, while off-road that is literally half that. The difference in traction is quite significant and if you are dealing with loose dirt or sand it’s very helpful to be able to change your tire pressure to suit.
For this purpose, one can carry a portable air compressor. The sort of air compressor we are talking about though isn’t just one of those you use for inflating a flat, but needs to be powerful enough to adjust all four tires in a timely manner. This leans to more powerful unit that would take up a bit of space in the car, along with carrying some extra equipment like hoses to make the whole process easier.
Choosing a Compressor
To keep things neat, I opted to invest in an onboard compressor. This unit is permanently installed into the car in the engine bay, and hardwired into battery and interior to operate. No need to carry this inside the vehicle. I would like to retain as much space for other storage.
My chosen unit was a ARB CKMA12 Air Compressor.
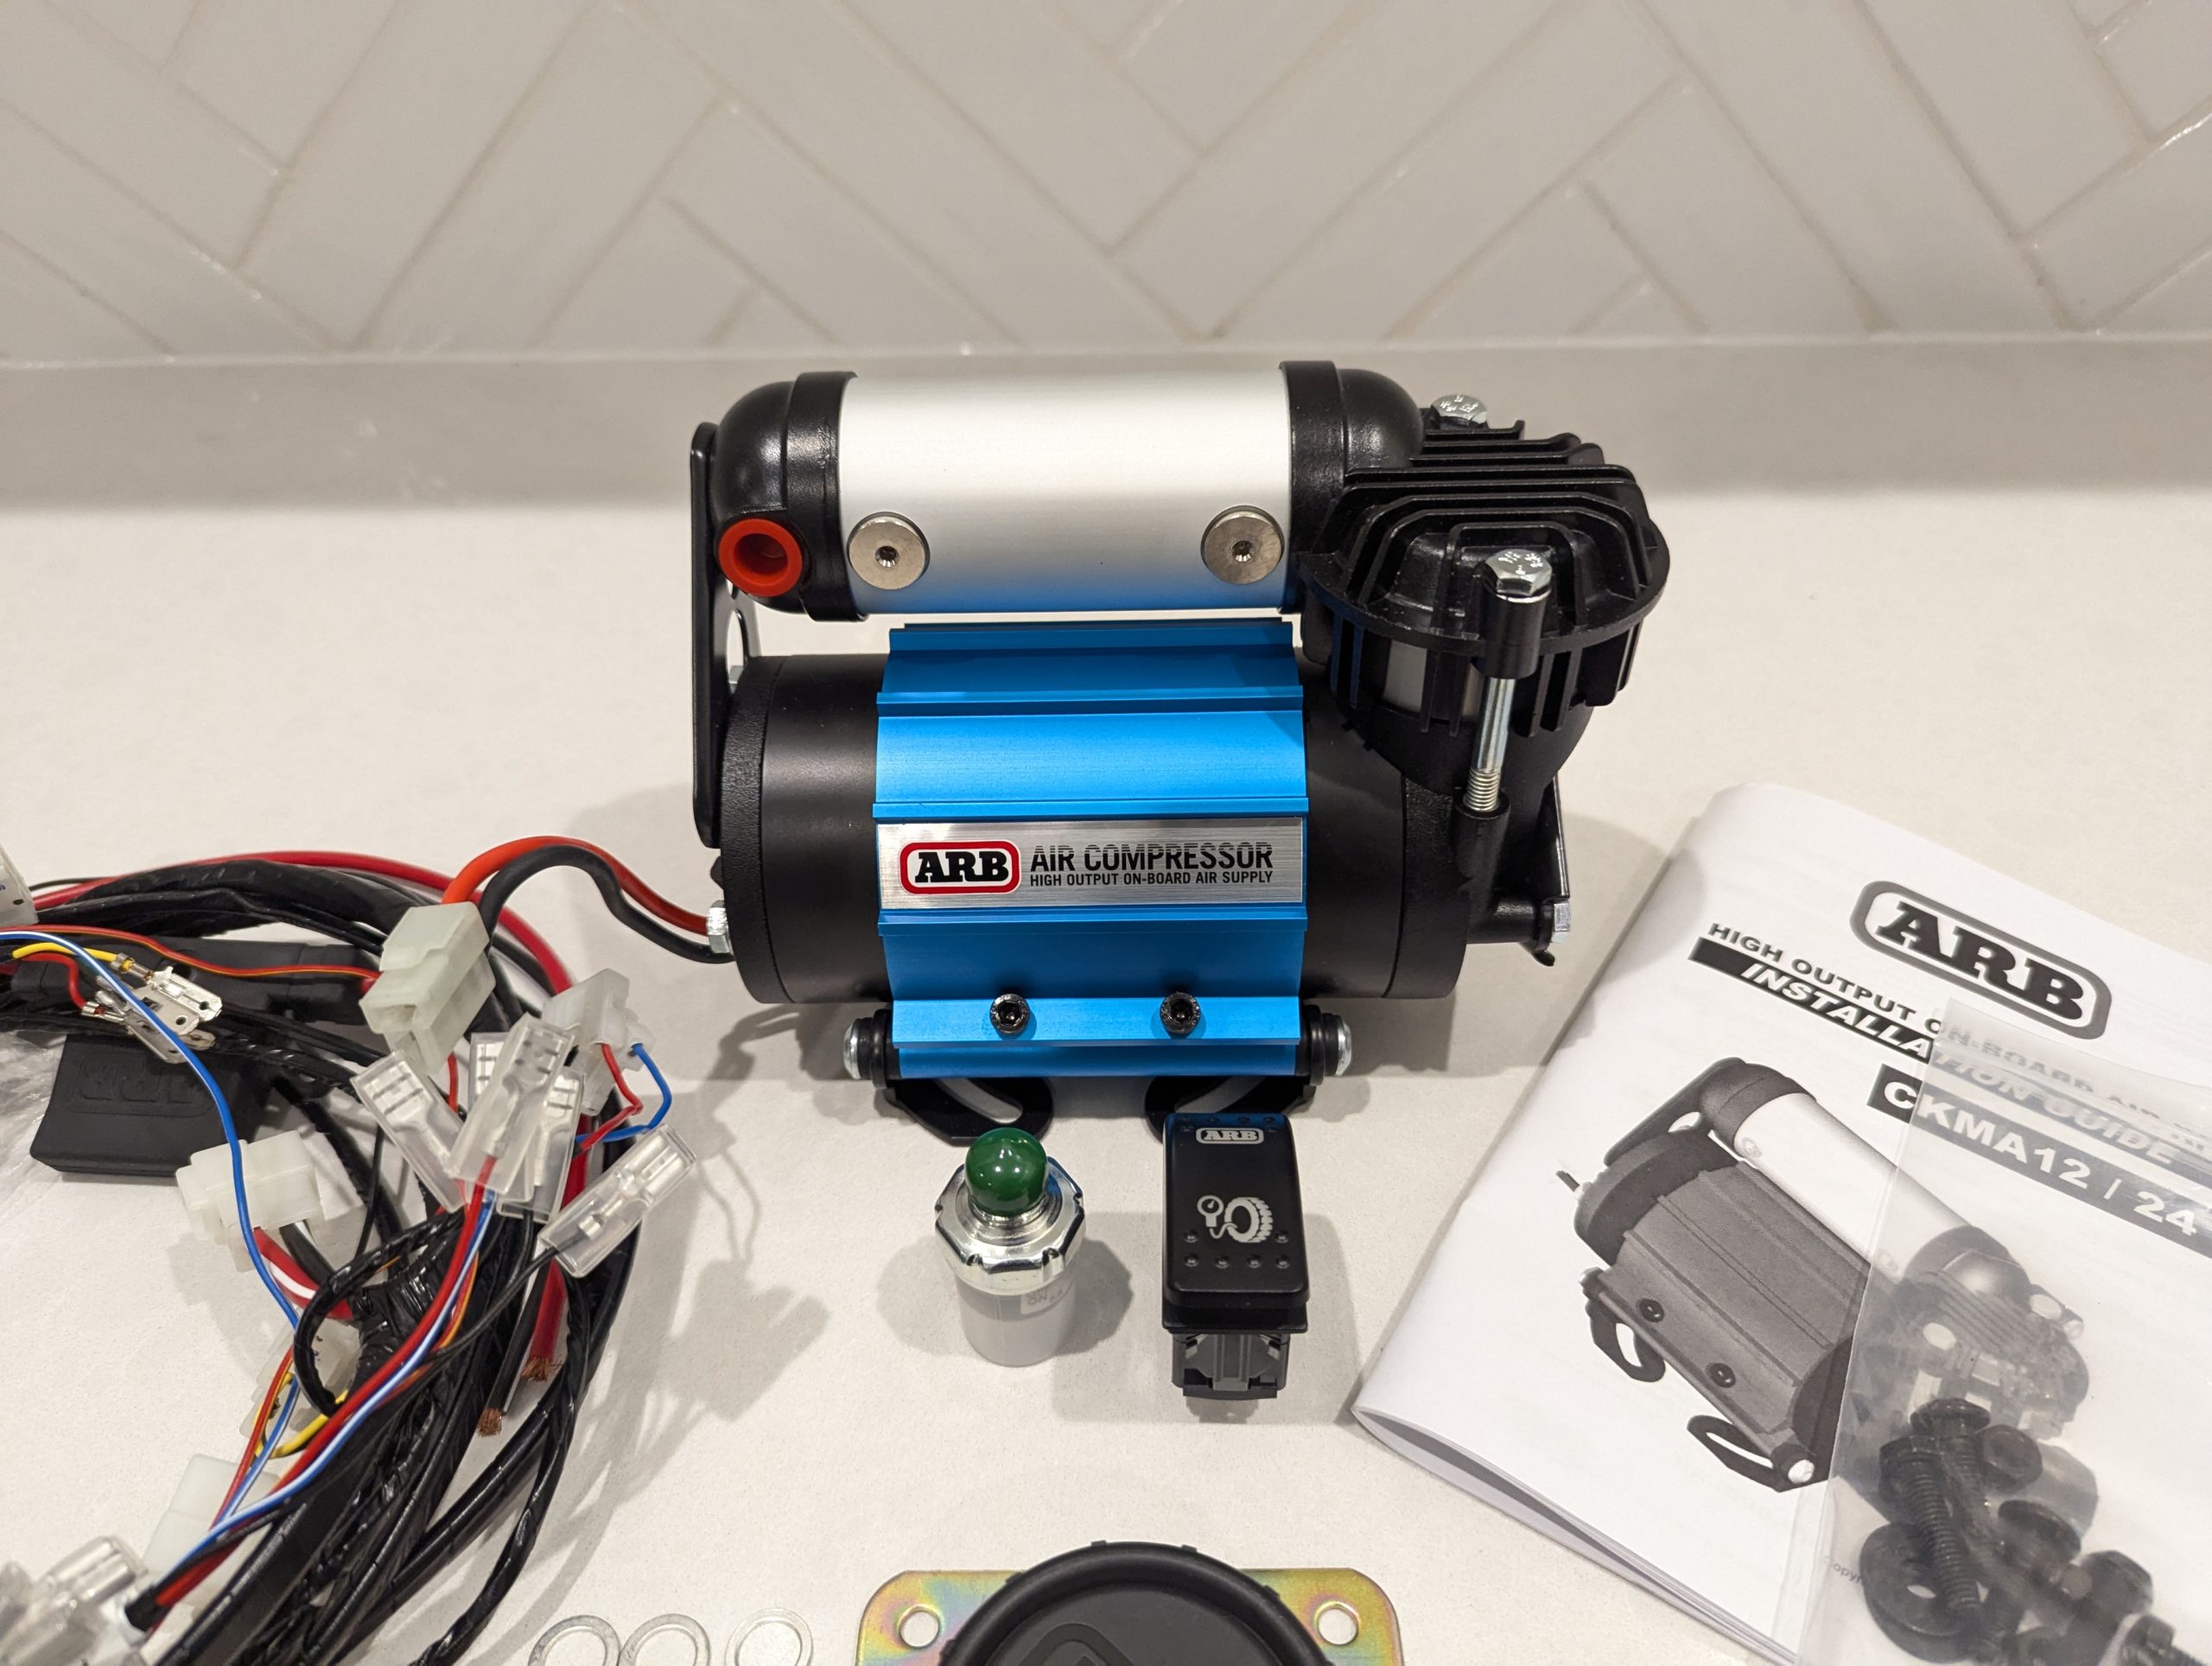
Installation
The setup in theory was straightforward. The unit simply needed to be mounted and powered, with the inclusion of a pressure sensor and installation of an on-off switch.
A wiring loom was provided which made the whole process a bit simpler.
The main challenge for me was how to mount the unit. This does not just bolt on to the vehicle as it is. Typically some fabrication is needed. I tried to avoid this due to cost and time, but did hit a few issues.
My first attempt was to use two existing holes in the engine bay with some simple L brackets. Unfortunately the panelling had too much flex! The compressor itself is actually quite heavy!
An attempt to improve this with a second set of bolts failed as well. The result was just a mess of having two more holes in my car and no extra means to mount anything.

Admitting defeat, I purchased a bracket. Hard to come by and expensive for what it was, but I guess its a pretty niche item and the time and energyit saved to solve this problem meant this was simply the way forward.
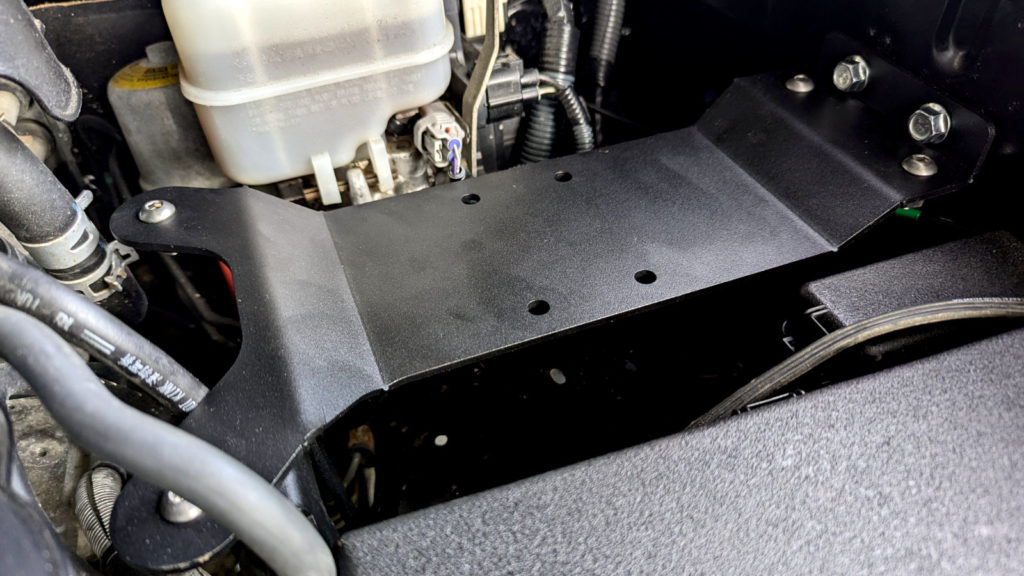
With the bracket installed, mounting the unit became a breeze. within 30mins the unit was bolted in and rock solid.
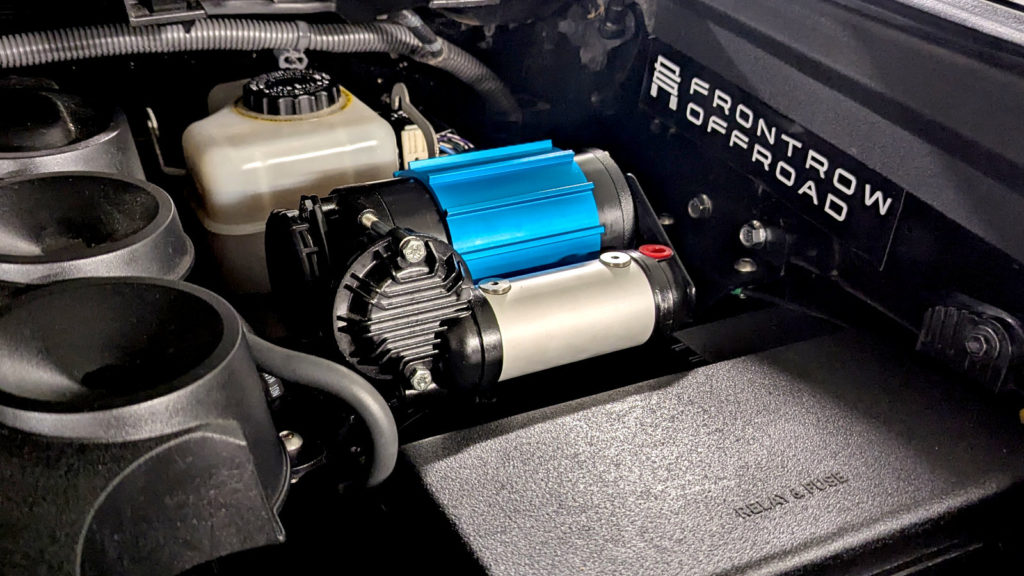
The next task was to do the electrical. this involved doing the battery connections, and running the cabling into the cabin where I could put a switch to toggle power for the compressor.
The first step was a trial setup to check the connections I needed to make. This was to make sure I did understand how it wired up. Managed to get that working without to much trouble.
Next up was running the cable into the cabin. Using a pre-made hole through the engine bay, I got the wiring to a location where I was planning on placing the button.
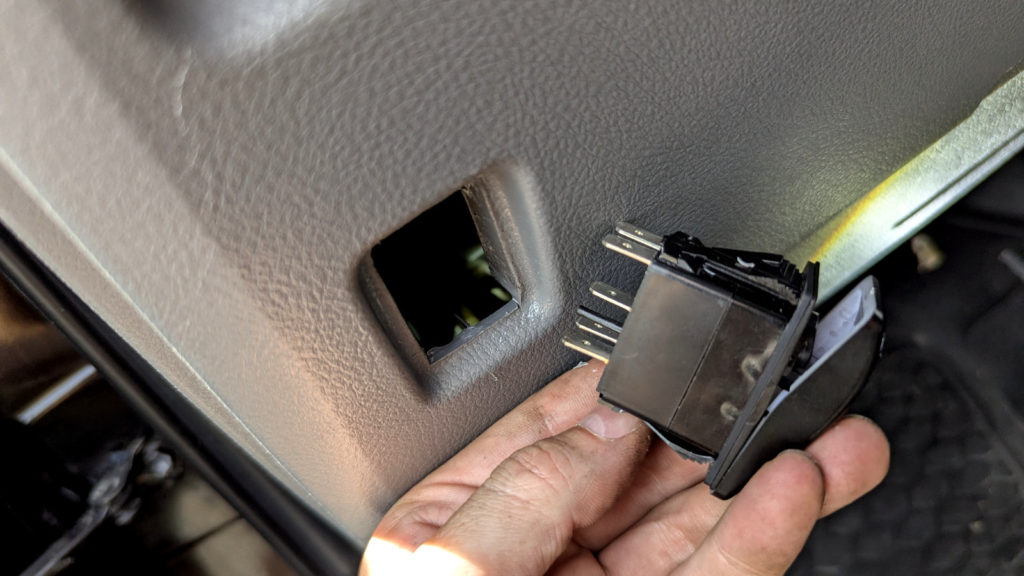
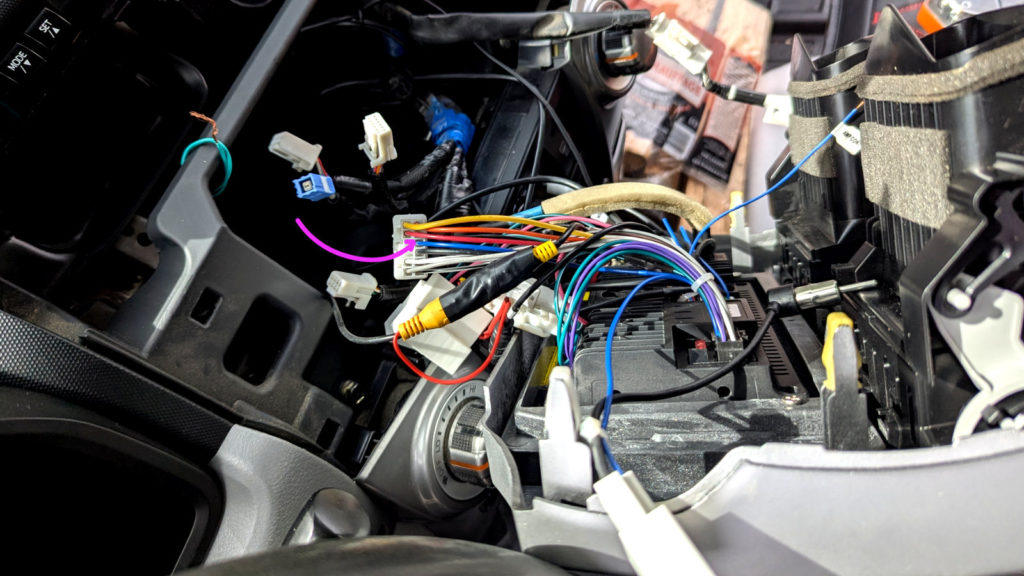
This is when I discovered the size of the switch was not compatible with Toyota. I knew I needed to cut a bigger opening in the dash. I had done this enough in the past to know to be be very careful to not cut away too much. I took my time until it just fit. Below you can see the trimmed hole expanded to fit the switch.
Next I needed access to an ignition wire. This wire only has power when the key ignition is on. The best place I know to get this is from, is the stereo. So, I had to rip out the head unit and splice into a pretty short wire to tap that power supply. Painful to do in the baking hot sun but I got there in the end. With that wire in place, I could complete the button install.
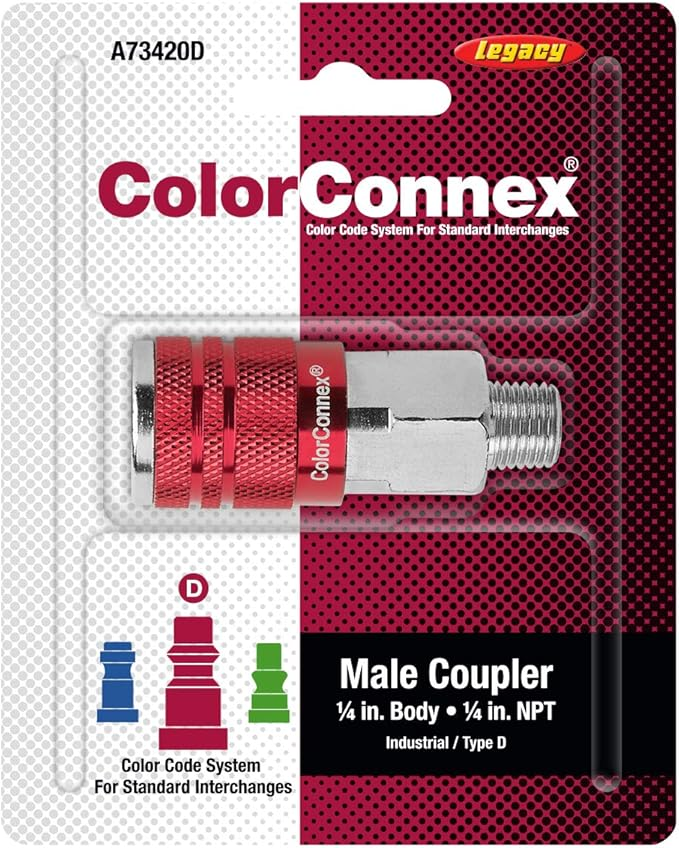
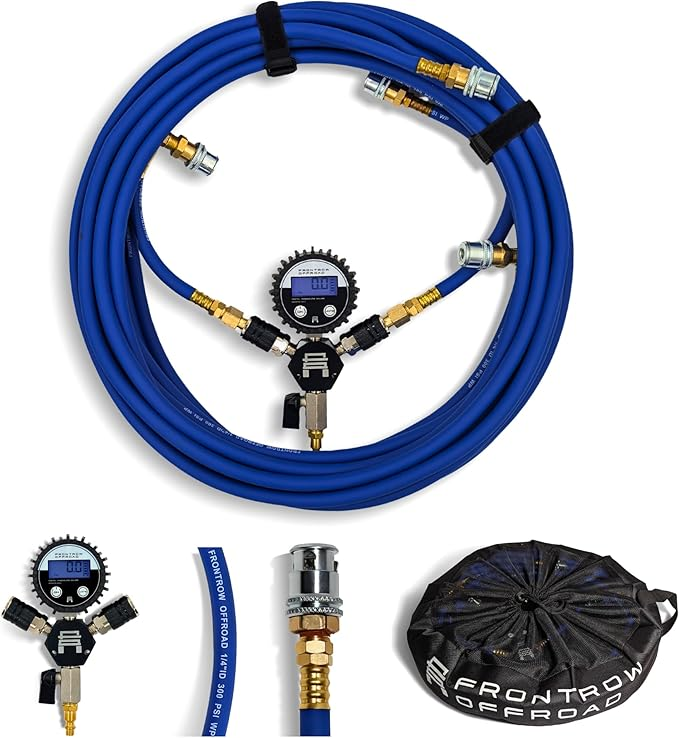
With the pump installed and functioning. I needed to sources some pipe fittings to have a connection for my hosing. The hose I opted for is a 4 way hose, with a pressure gauge built in allowing me to monitor both airing down and pumping up my tires.
Testing The setup!
Once the fittings where in place (shown in the picture below with a t junction and pressure switch – it was time to give all a test!
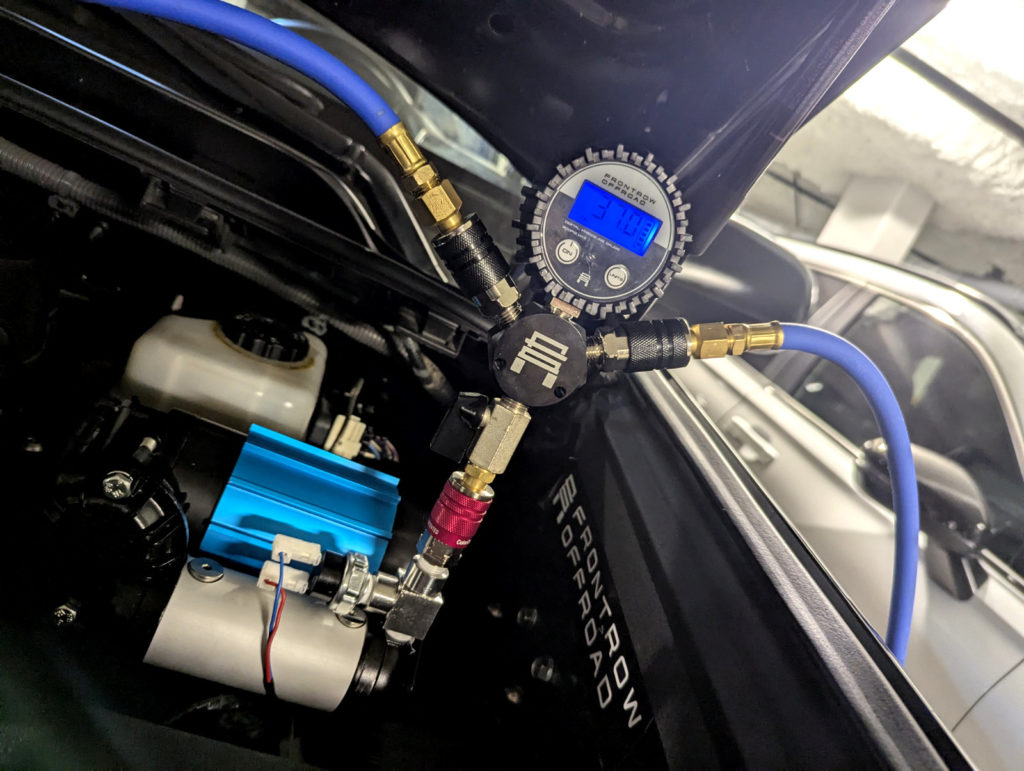
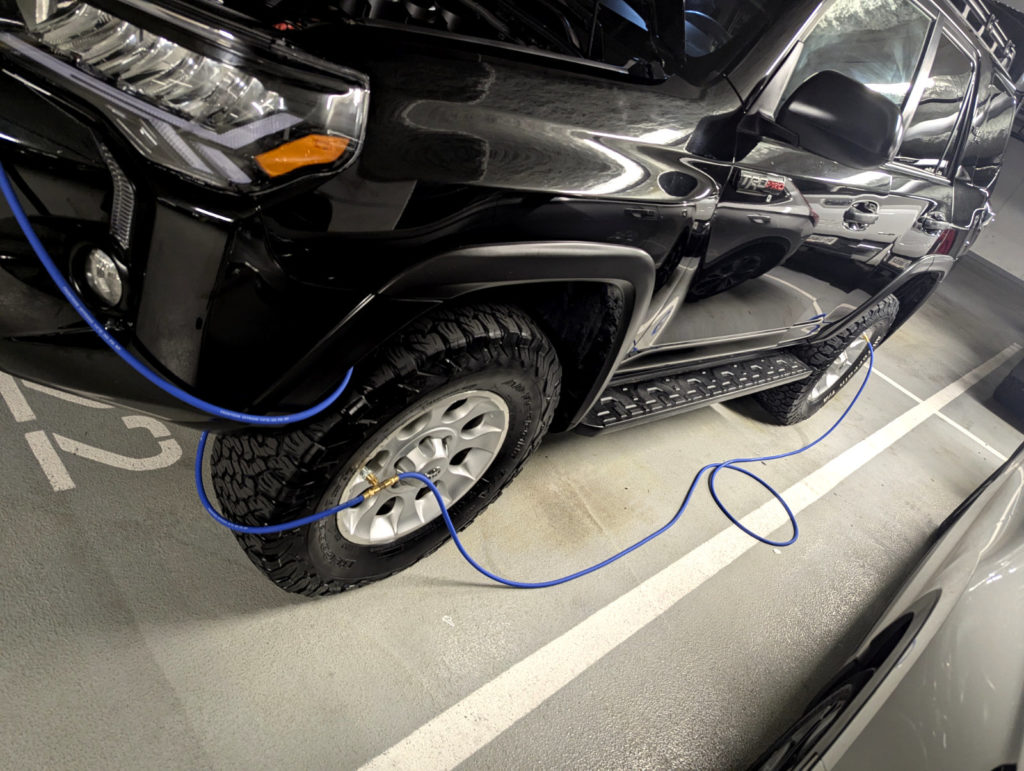
It all works like a charm with just a minute or so to deflate the tires down to 16psi, and around 9 minutes to inflate them again to 37psi. Success and a wrap for this project!
Leave a Reply