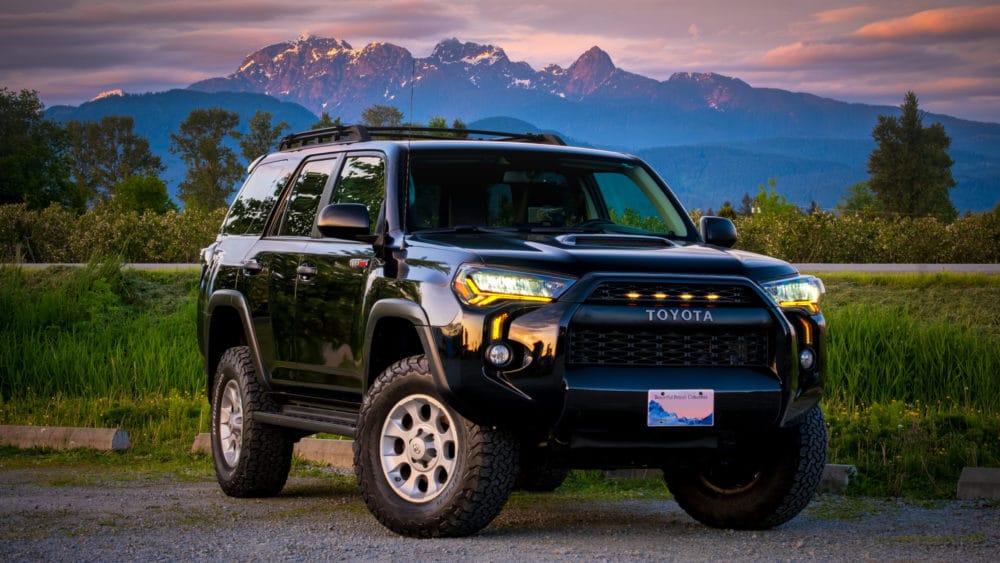

Another update on my 4Runner project! I’m going to share how I’m using Starlink on my 4Runner to allow me to have high speed internet anywhere I go.
Working from home is such a common reality for many of us these days. While it’s provided opportunity to improve our lives in some ways, it’s come at an expense in other ways. We have some extra freedoms, but are more isolated from our peers. We may skip an often arduous commute, but may find ourselves not going anywhere during the week!
Having been firmly WFH since COVID hit, I’m taking it upon myself with this upcoming trip to see how I can go exploring, but maintain a professional presence and perform my role at DNEG, from any location!
Given I mostly require email, zoom, and remote workstation access (which for me anyhow is a machine on the other side of the country), I was keen to try out a setup that let’s me do that straight from the car! Starlink makes this possible.
What is Starlink?
Starlink is a satellite internet constellation operated by SpaceX, providing high-speed internet access worldwide. It utilises a network of thousands of small satellites in low Earth orbit (LEO) to deliver internet connectivity, particularly to rural and remote areas where traditional internet infrastructure is limited or unavailable. The service is quite accessible to people these days and setup is straightforward.
To begin, one simply needs to create a Starlink account, and order the desired hardware (in the form of a satellite dish/plate, that come in 2 sizes). Once the unit is powered up, using a phone app you can set up your service. Once up and running it creates a Local Wi-Fi network, that anyone within a decent range and the password can connect to.
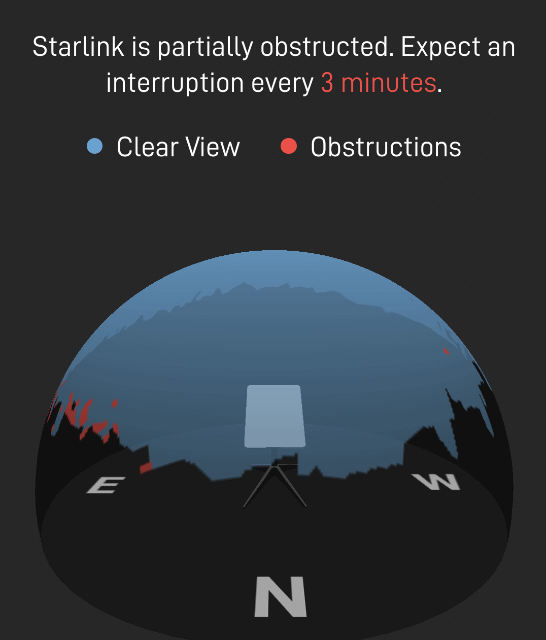
Connectivity is worldwide, though focussed on landmasses, and simply has a requirement that you have an unobstructed view of the sky. If you don’t, you may experience patchy connections.
As of recently, they have 3 ROAM plans for those adventuring in remote locations. Usage options exist and an additional low use plan is coming. For now, I’ll be switching between 50Gb and Unlimited plan, depending on needs.
| ROAM 50GB | $50/mo |
| ROAM – UNLIMITED DATA | $165/mo |
My Starlink Install
So with a basic Idea of what Starlink is out of the way, let’s look how that worked out for me!
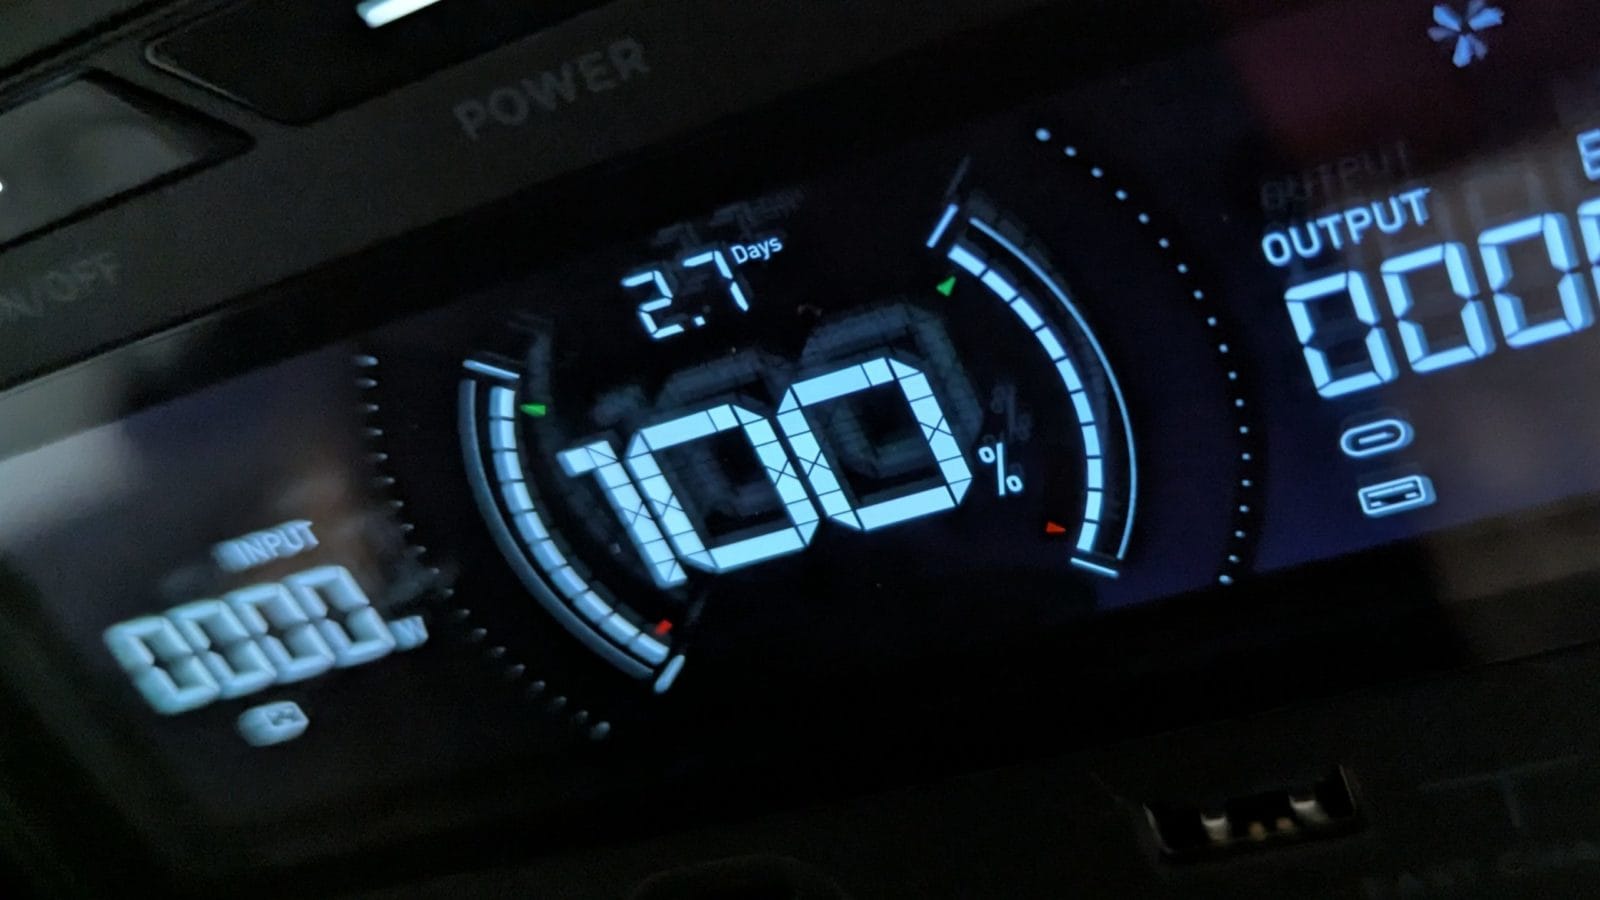
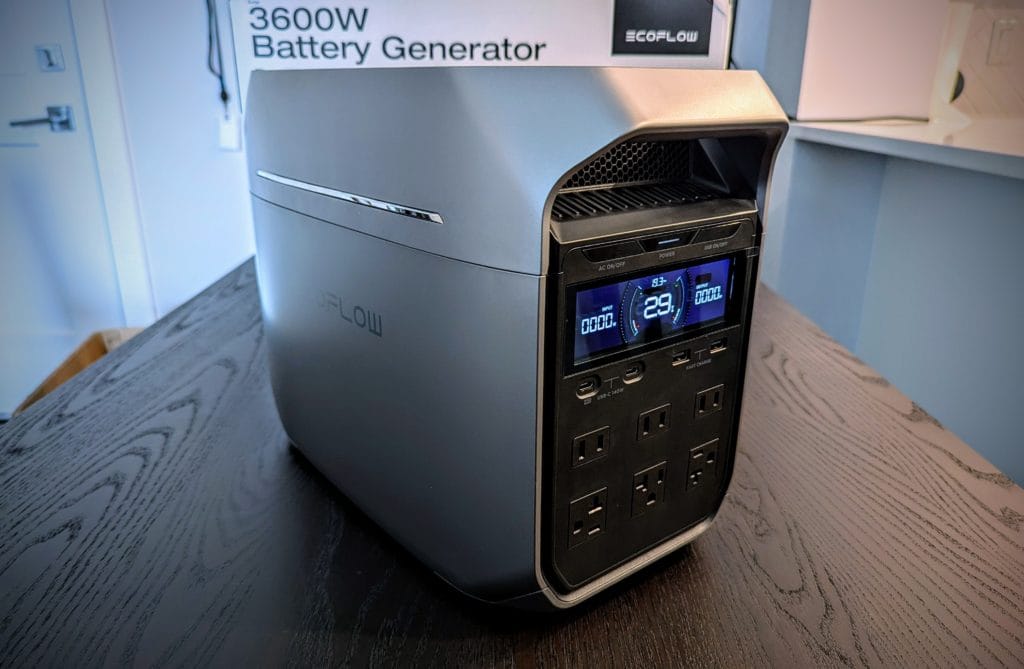
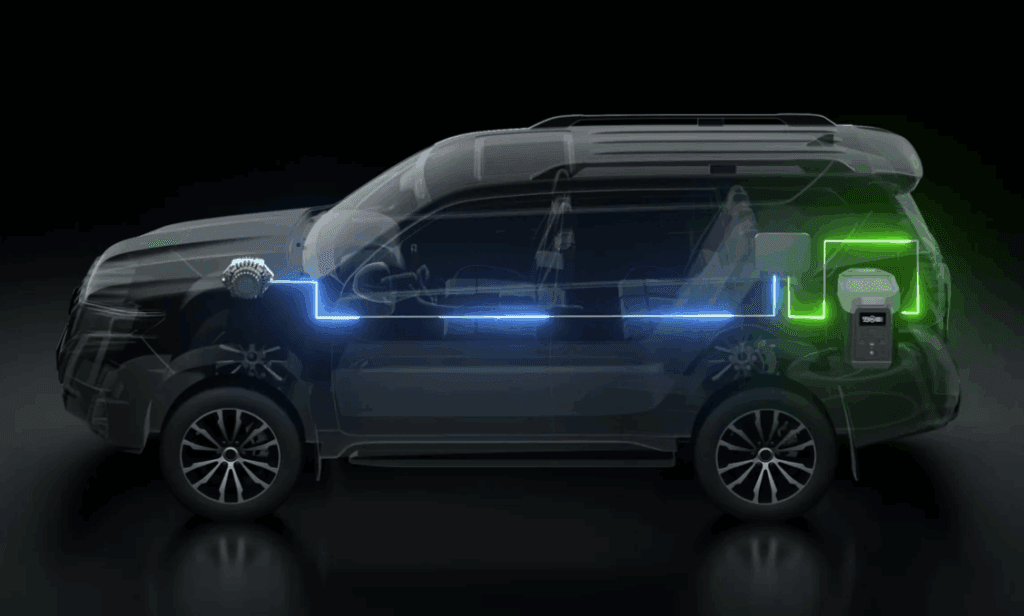
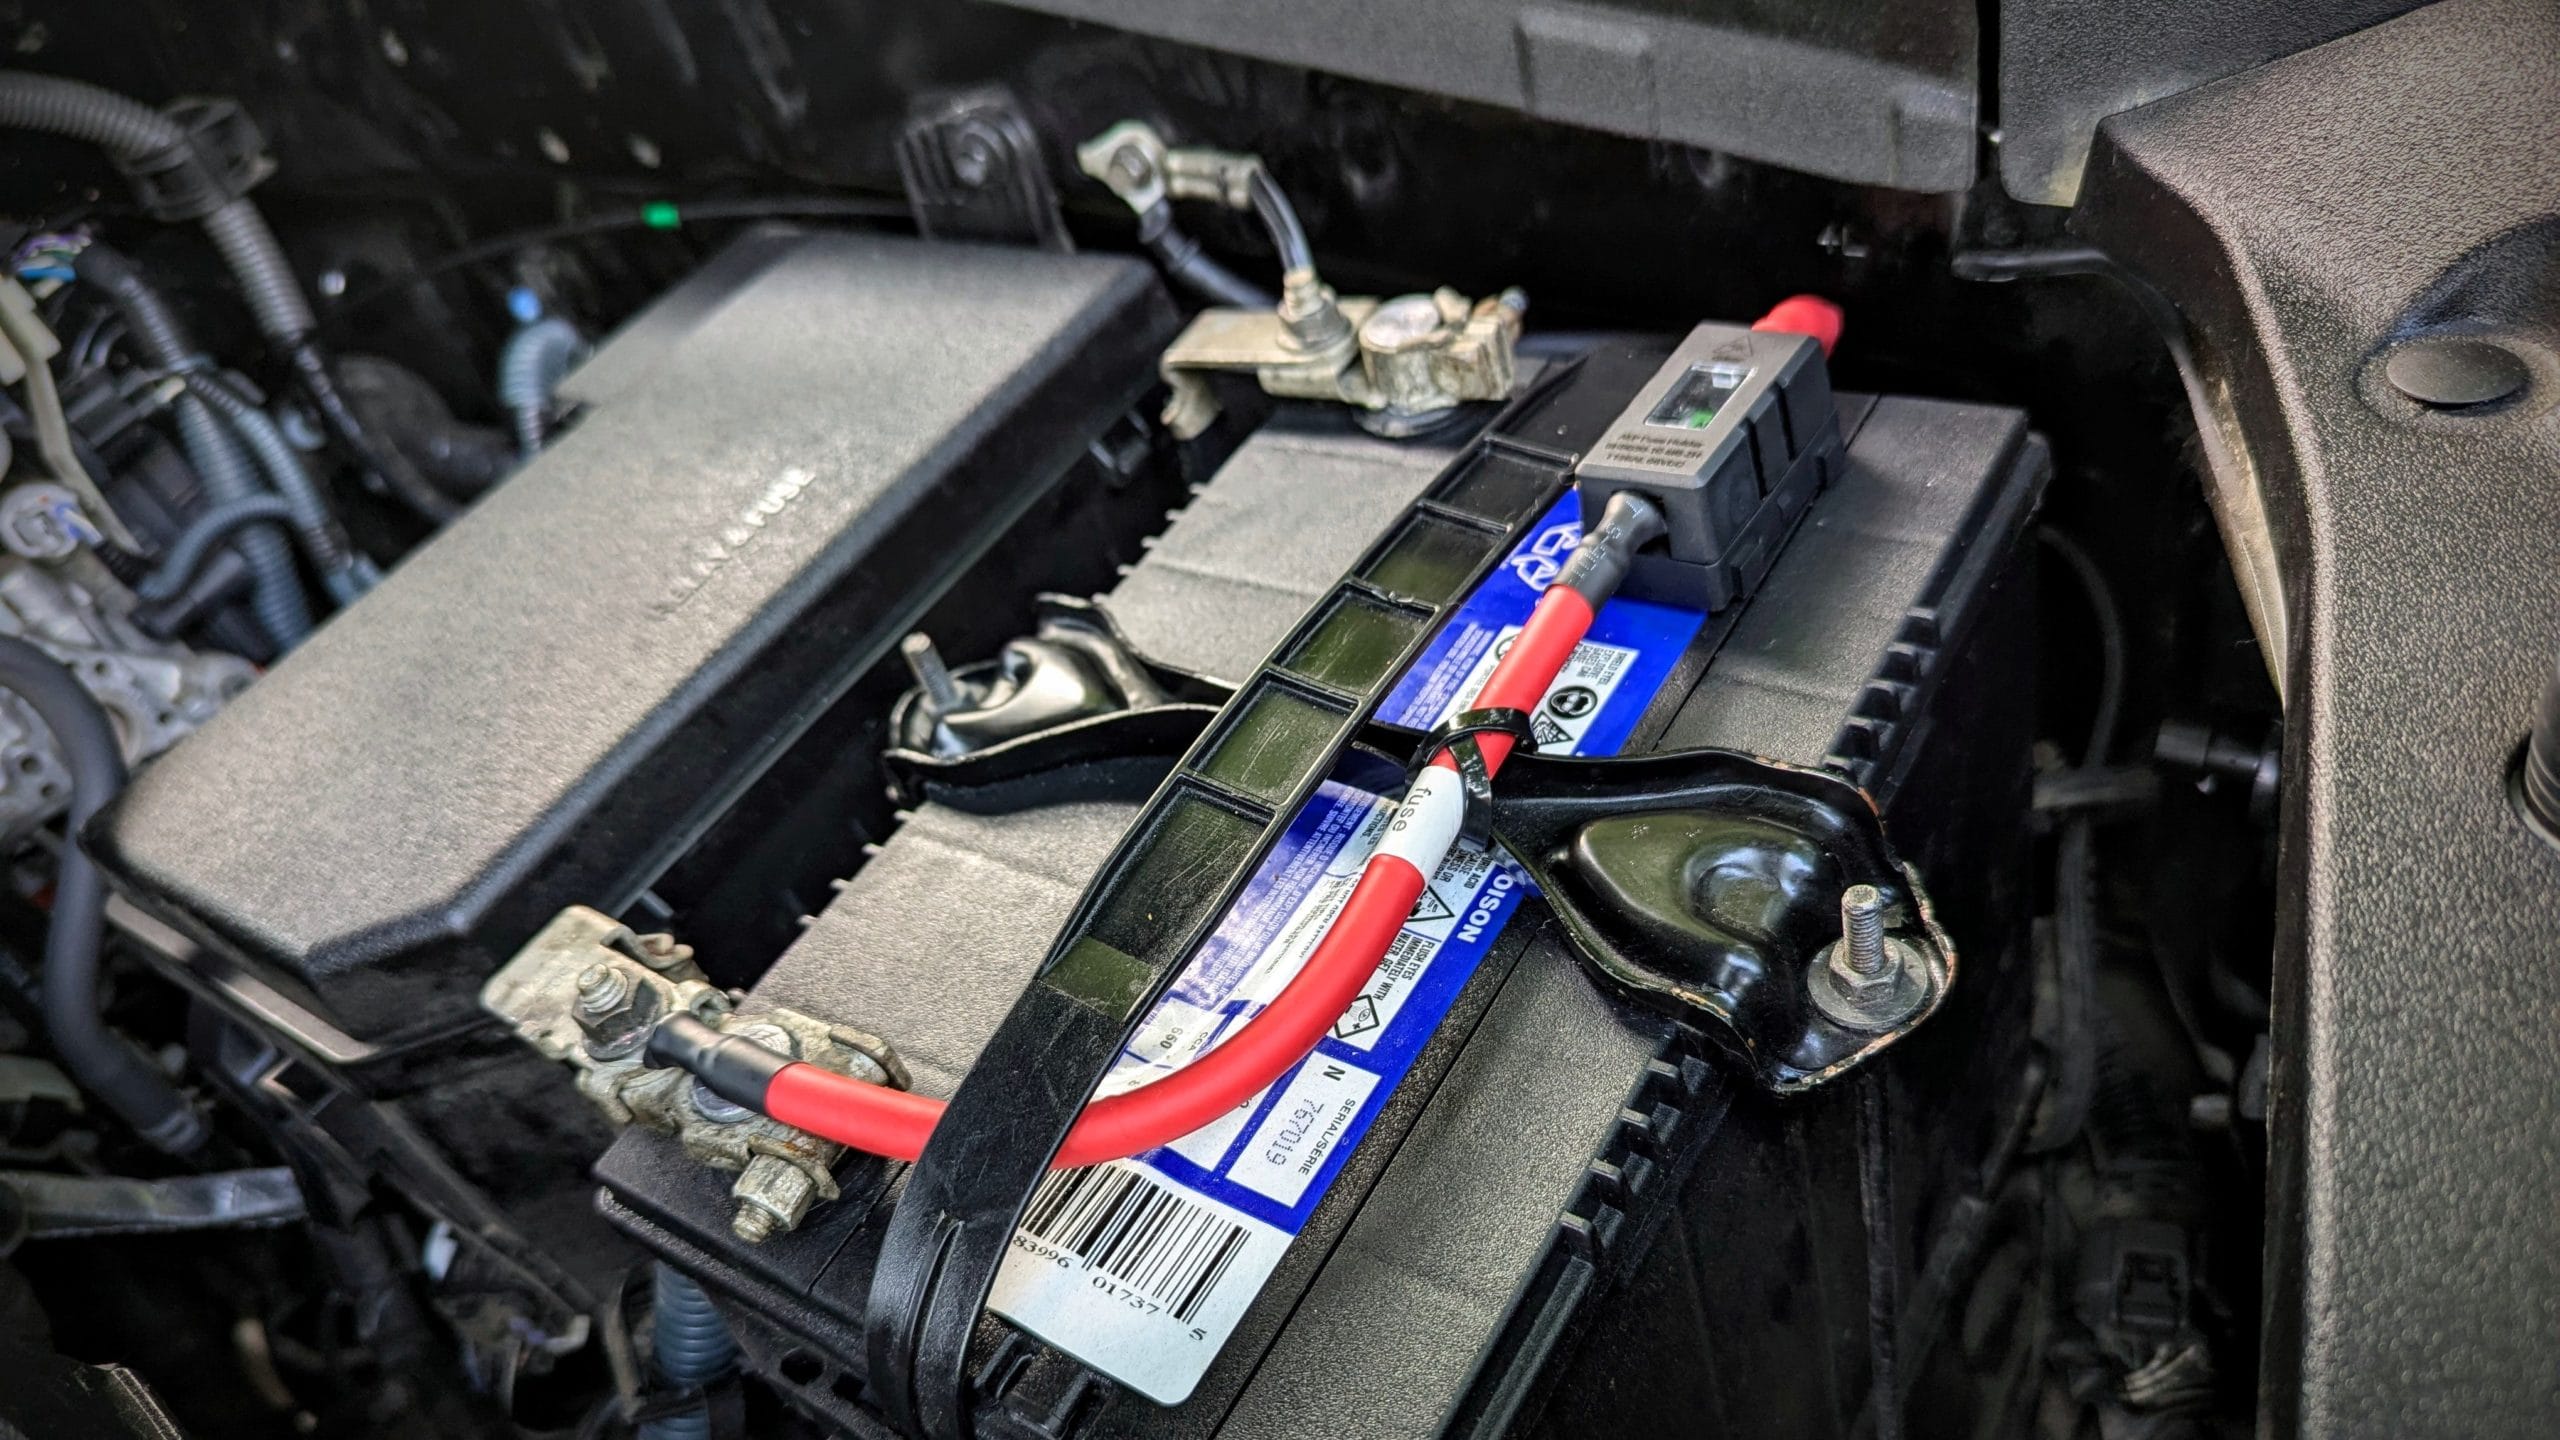
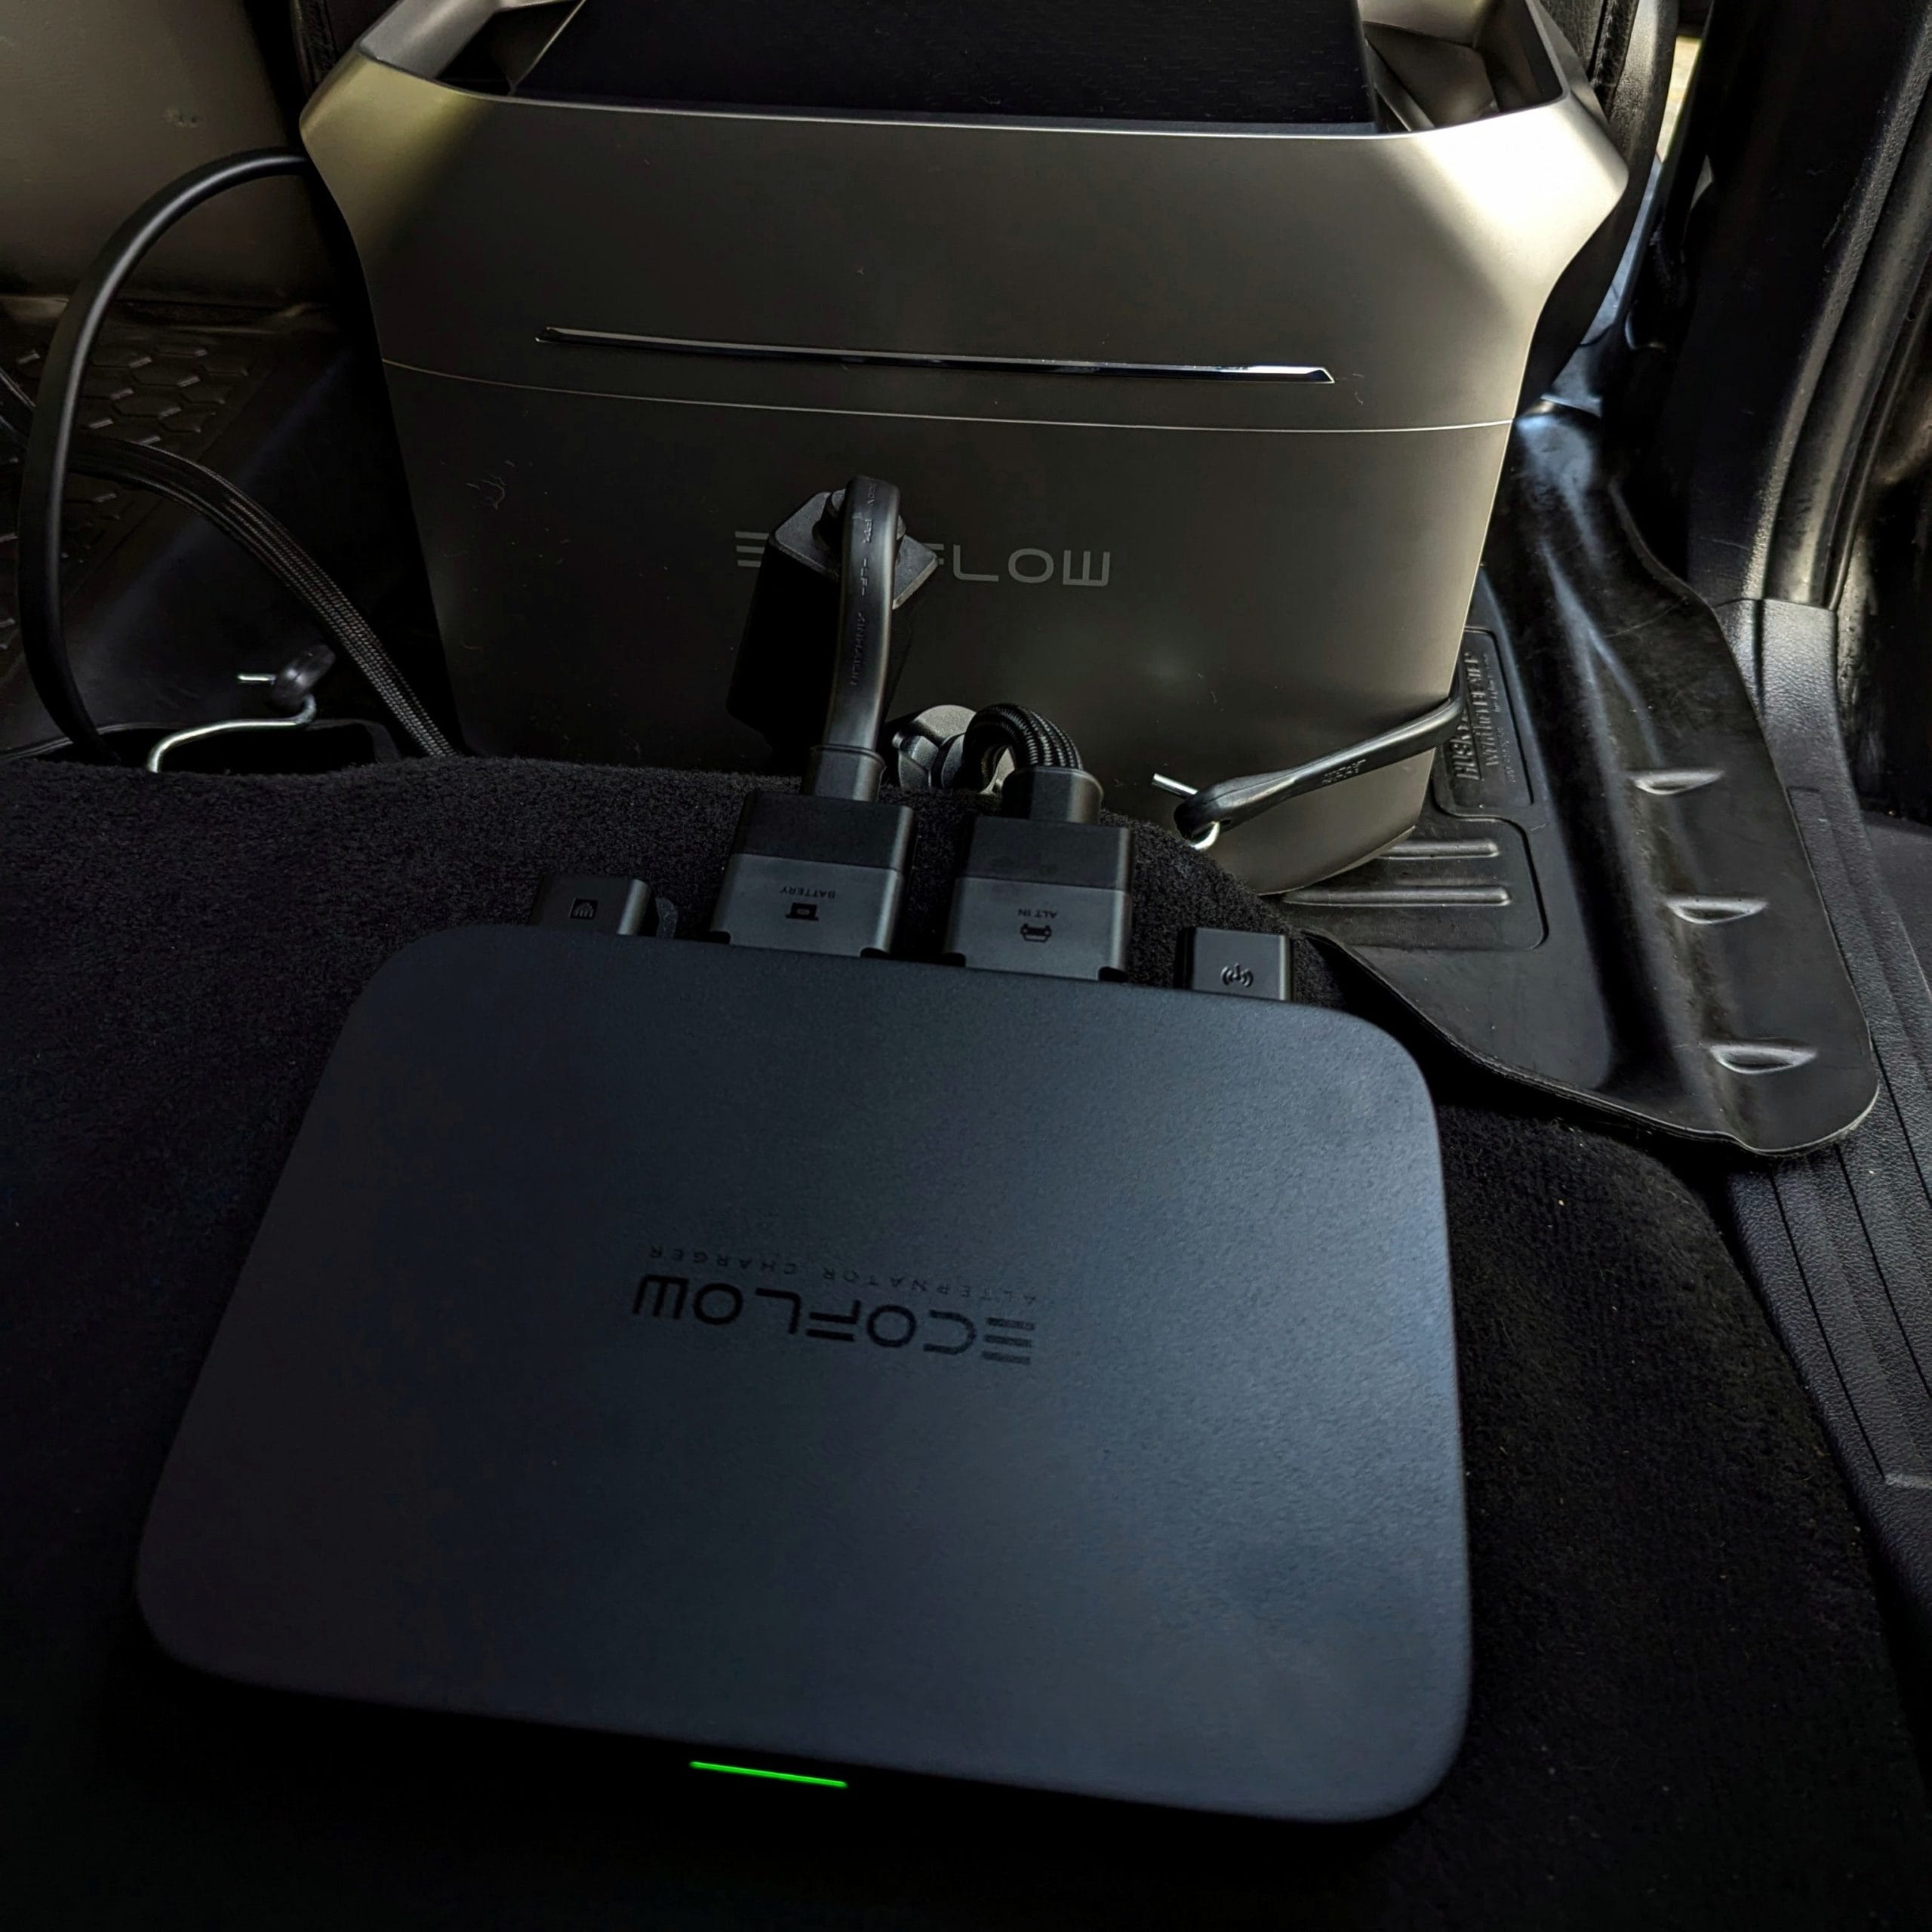
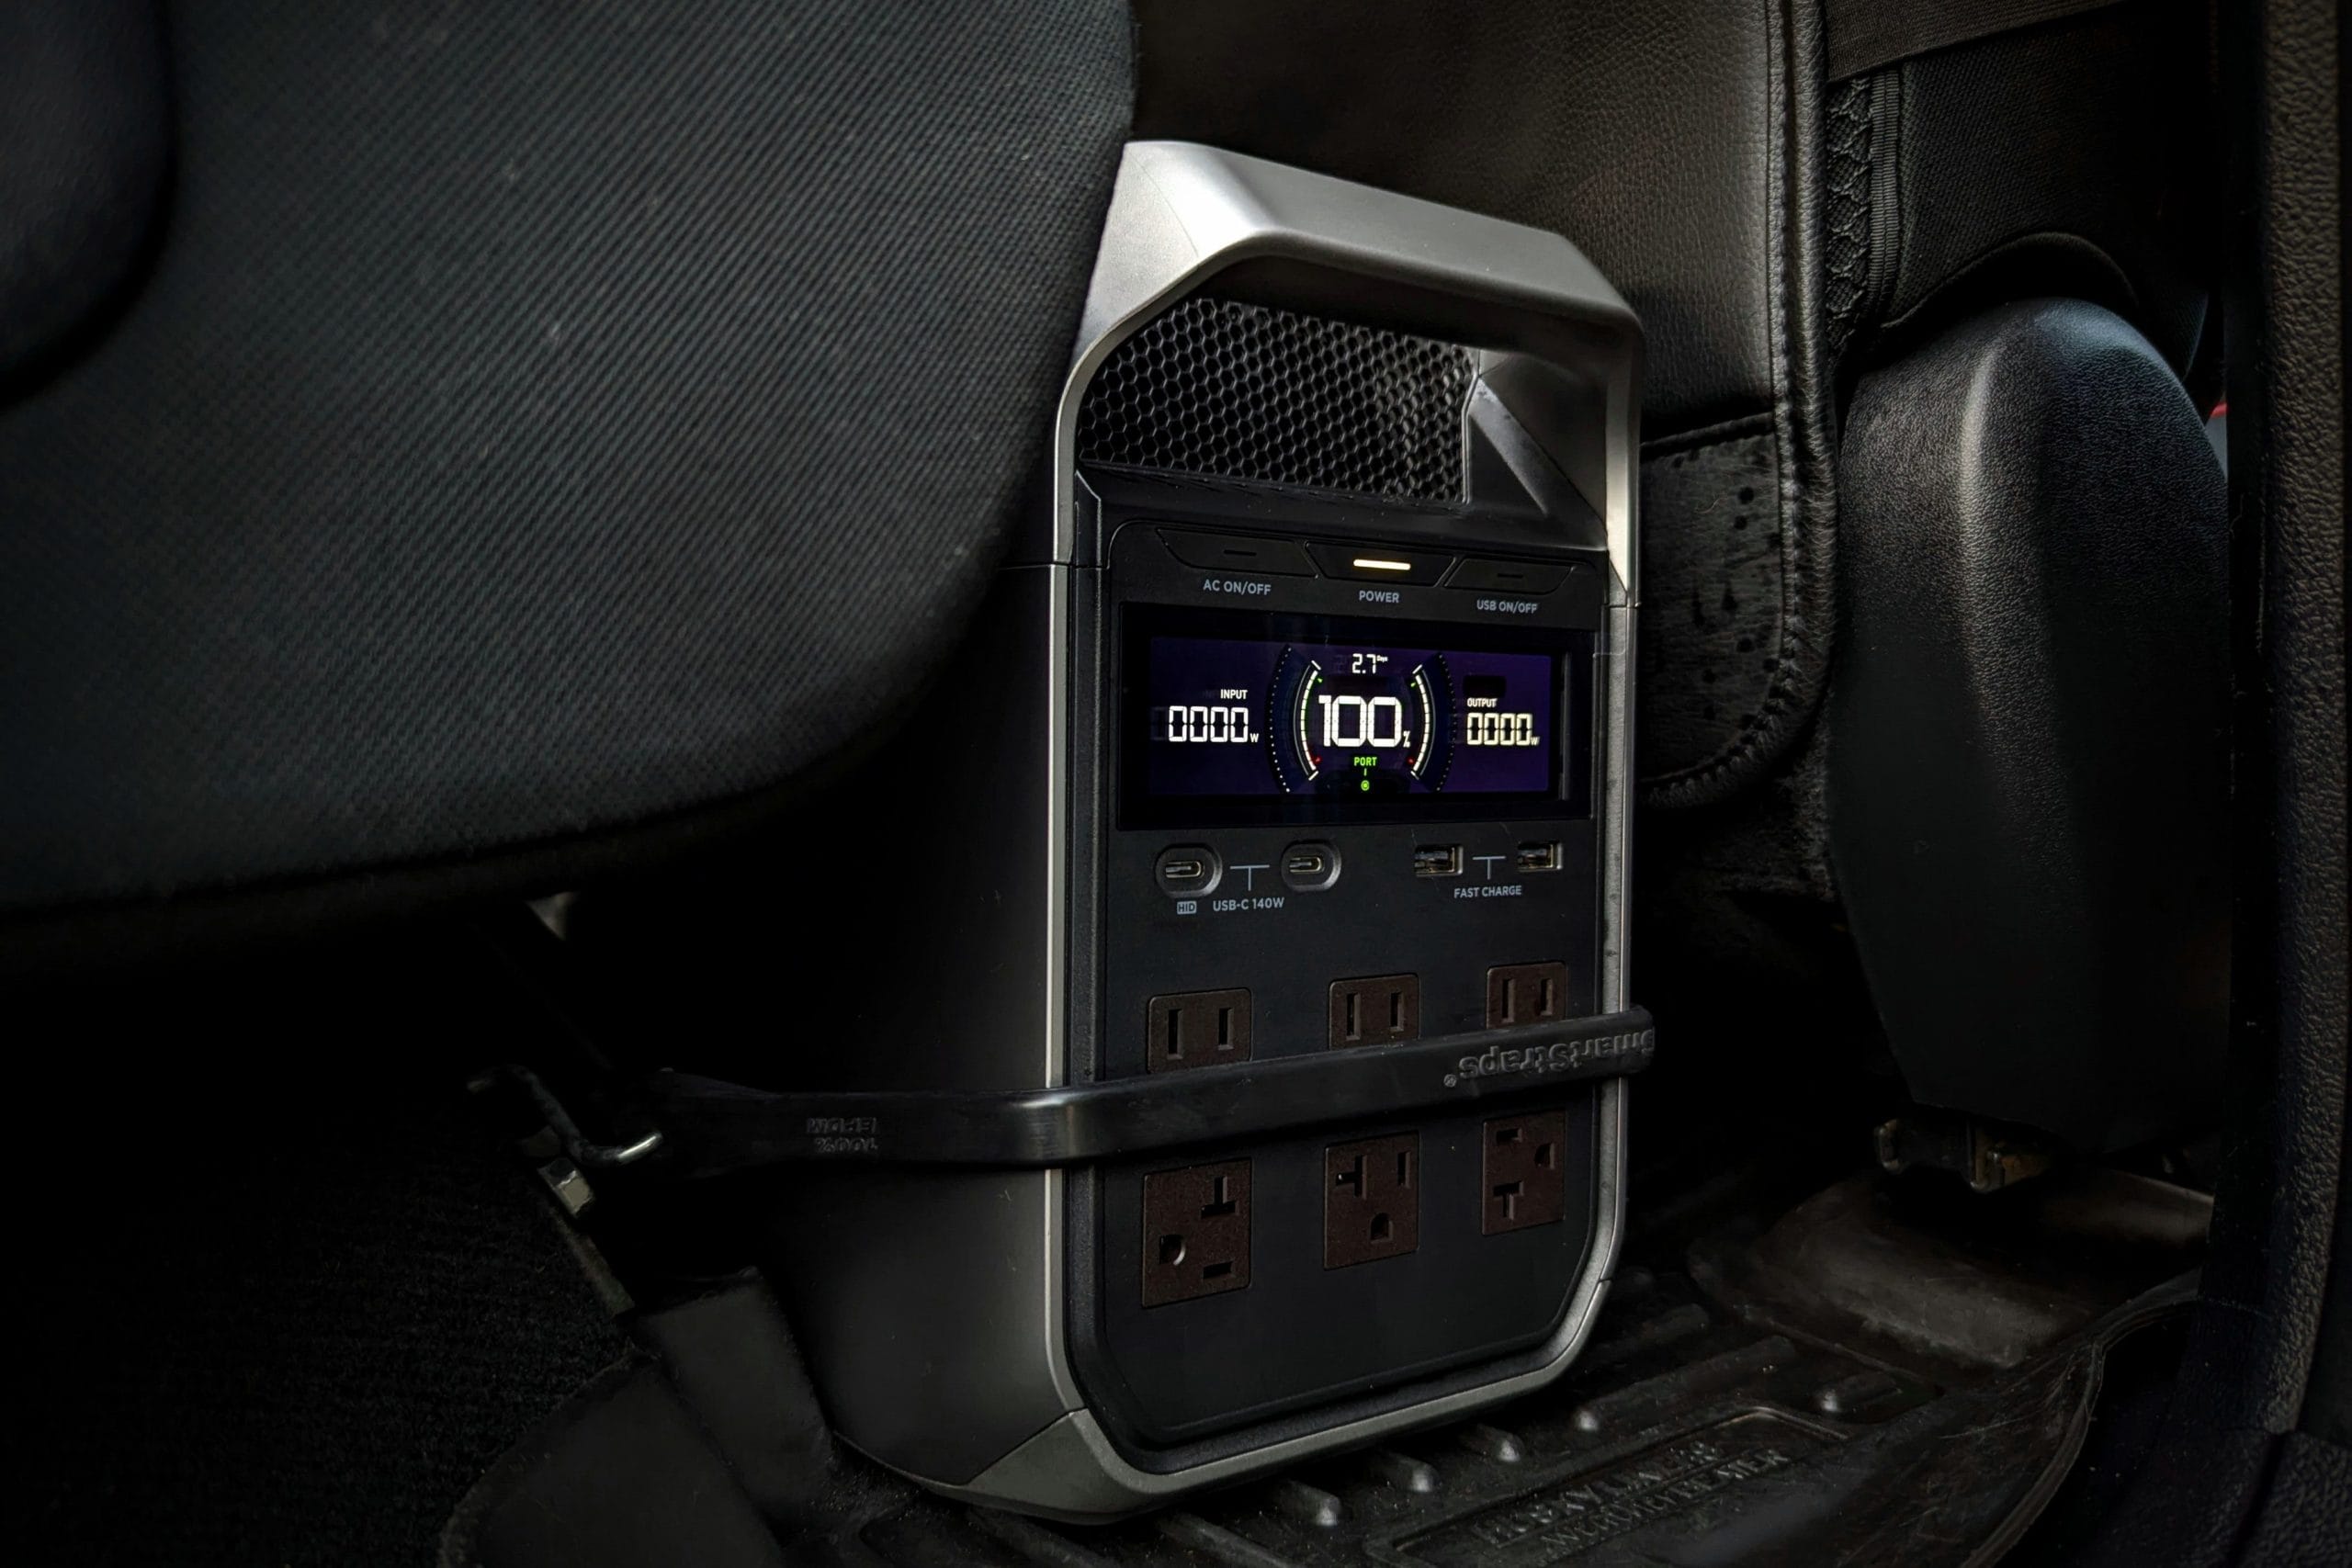
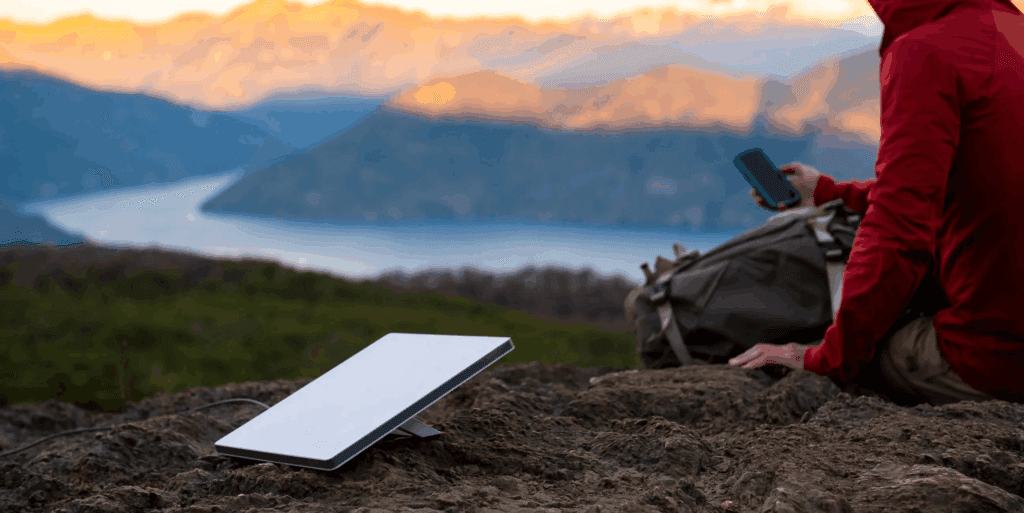
I personally have chosen to go with the Starlink Mini (the smaller of the 2 dishes they offer). The performance is still very decent, providing upto 150Mbps on a good day, ample for what I need to work. It also uses less power. Since the unit runs on AC, I have it plugged into my Ecoflow.
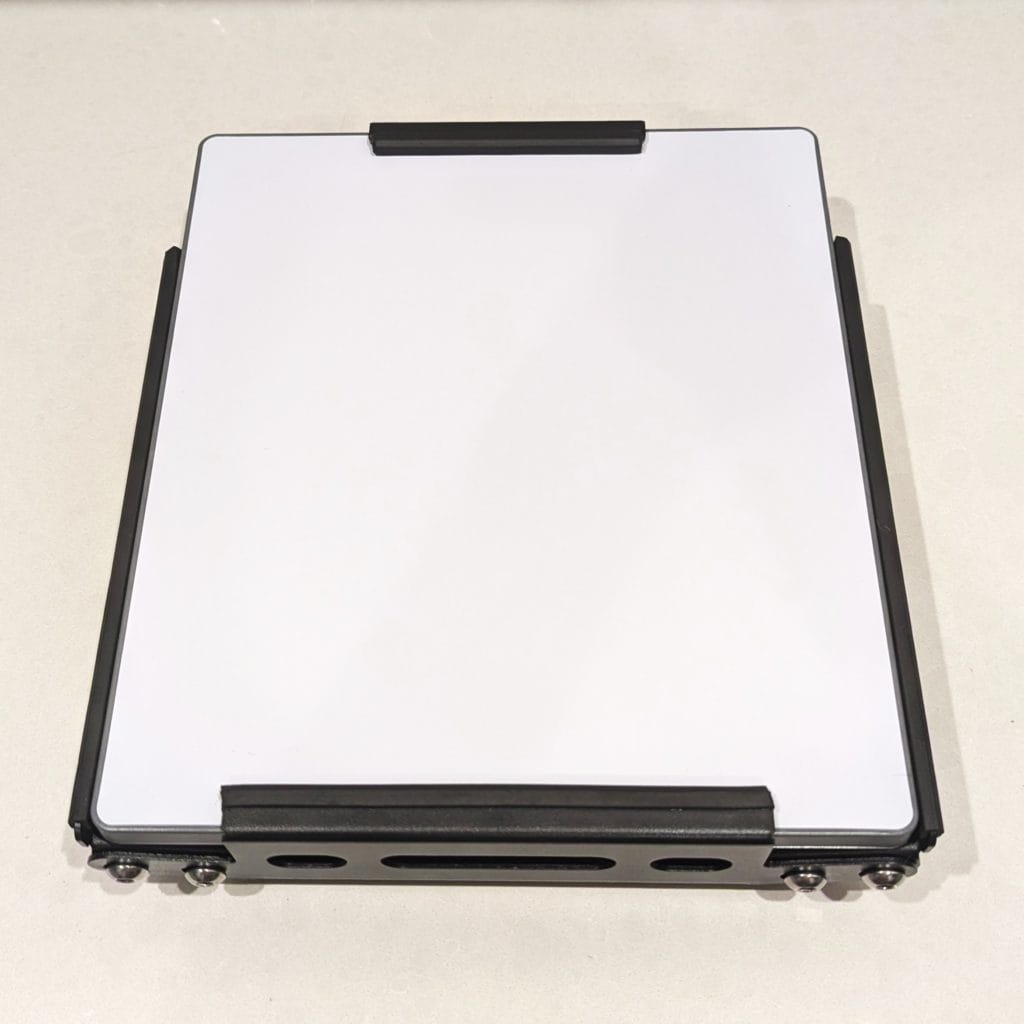
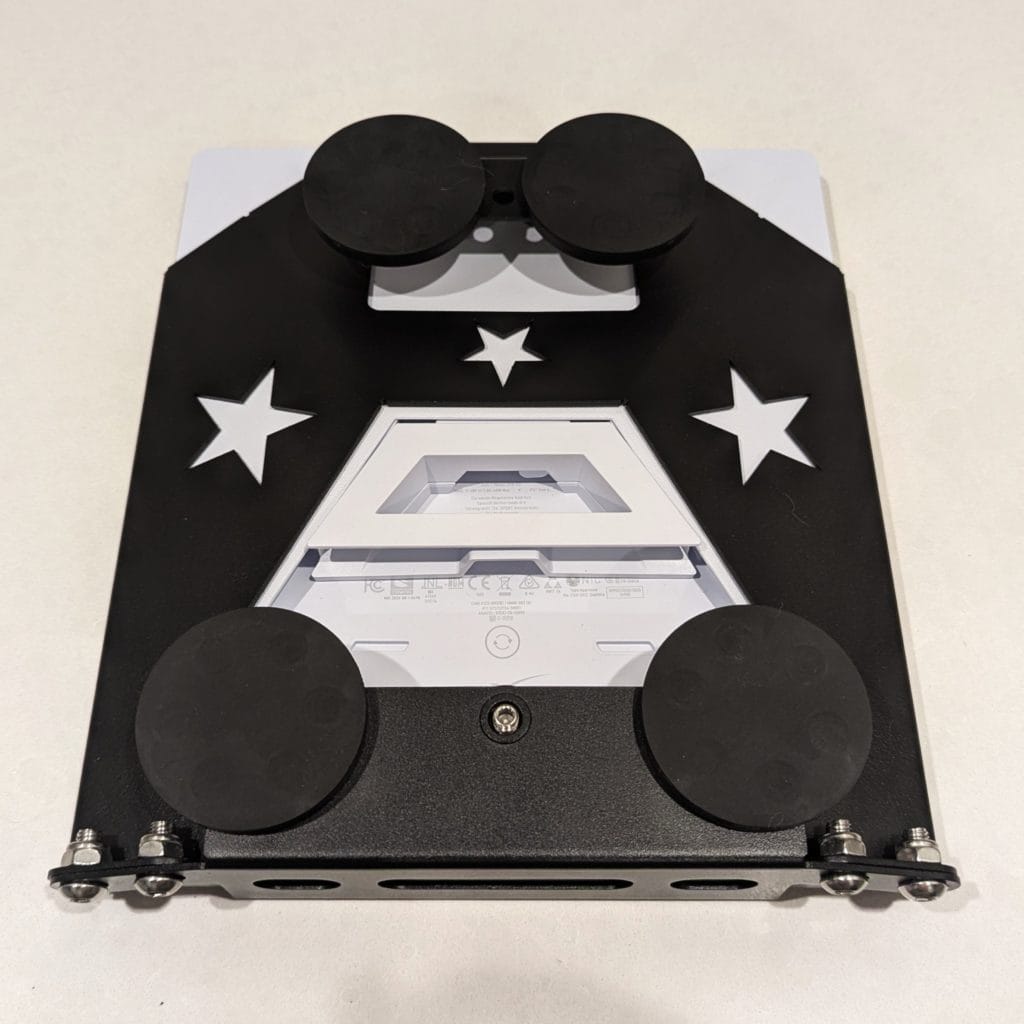
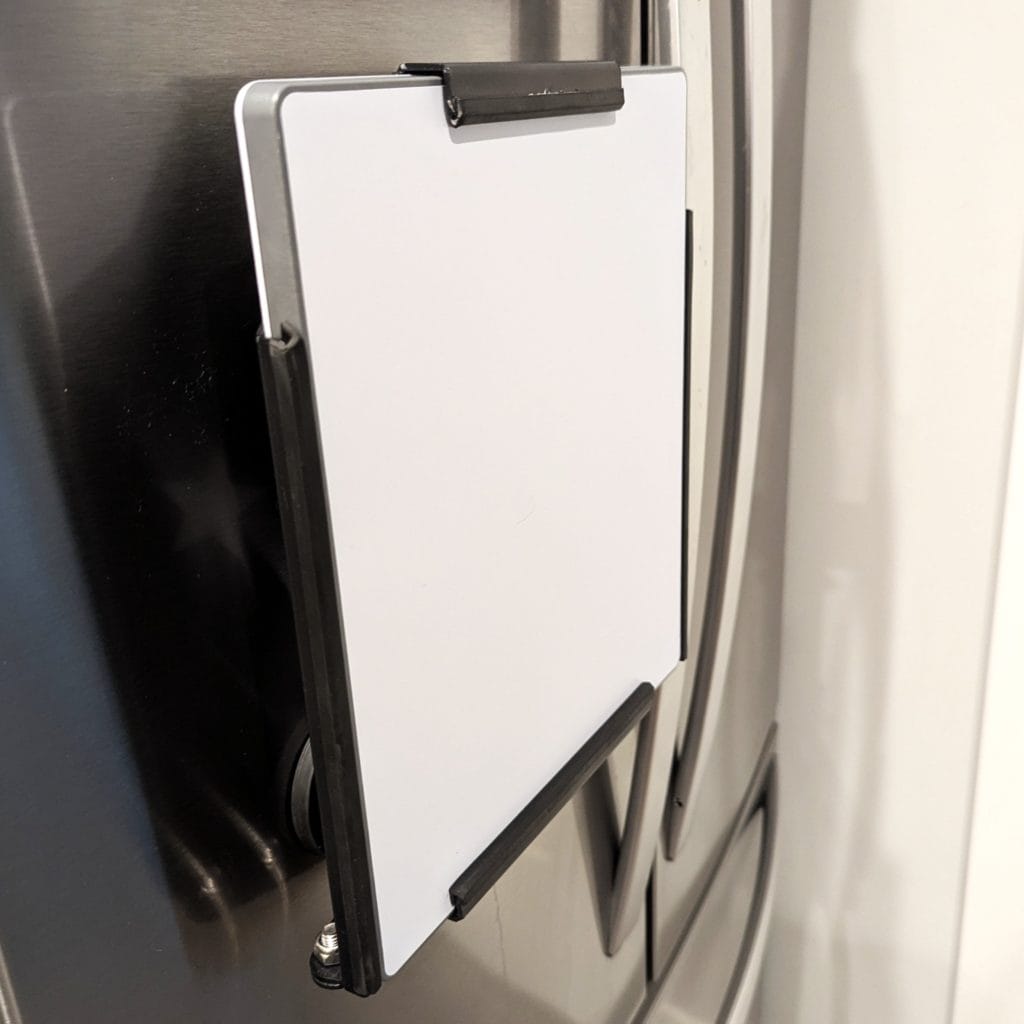
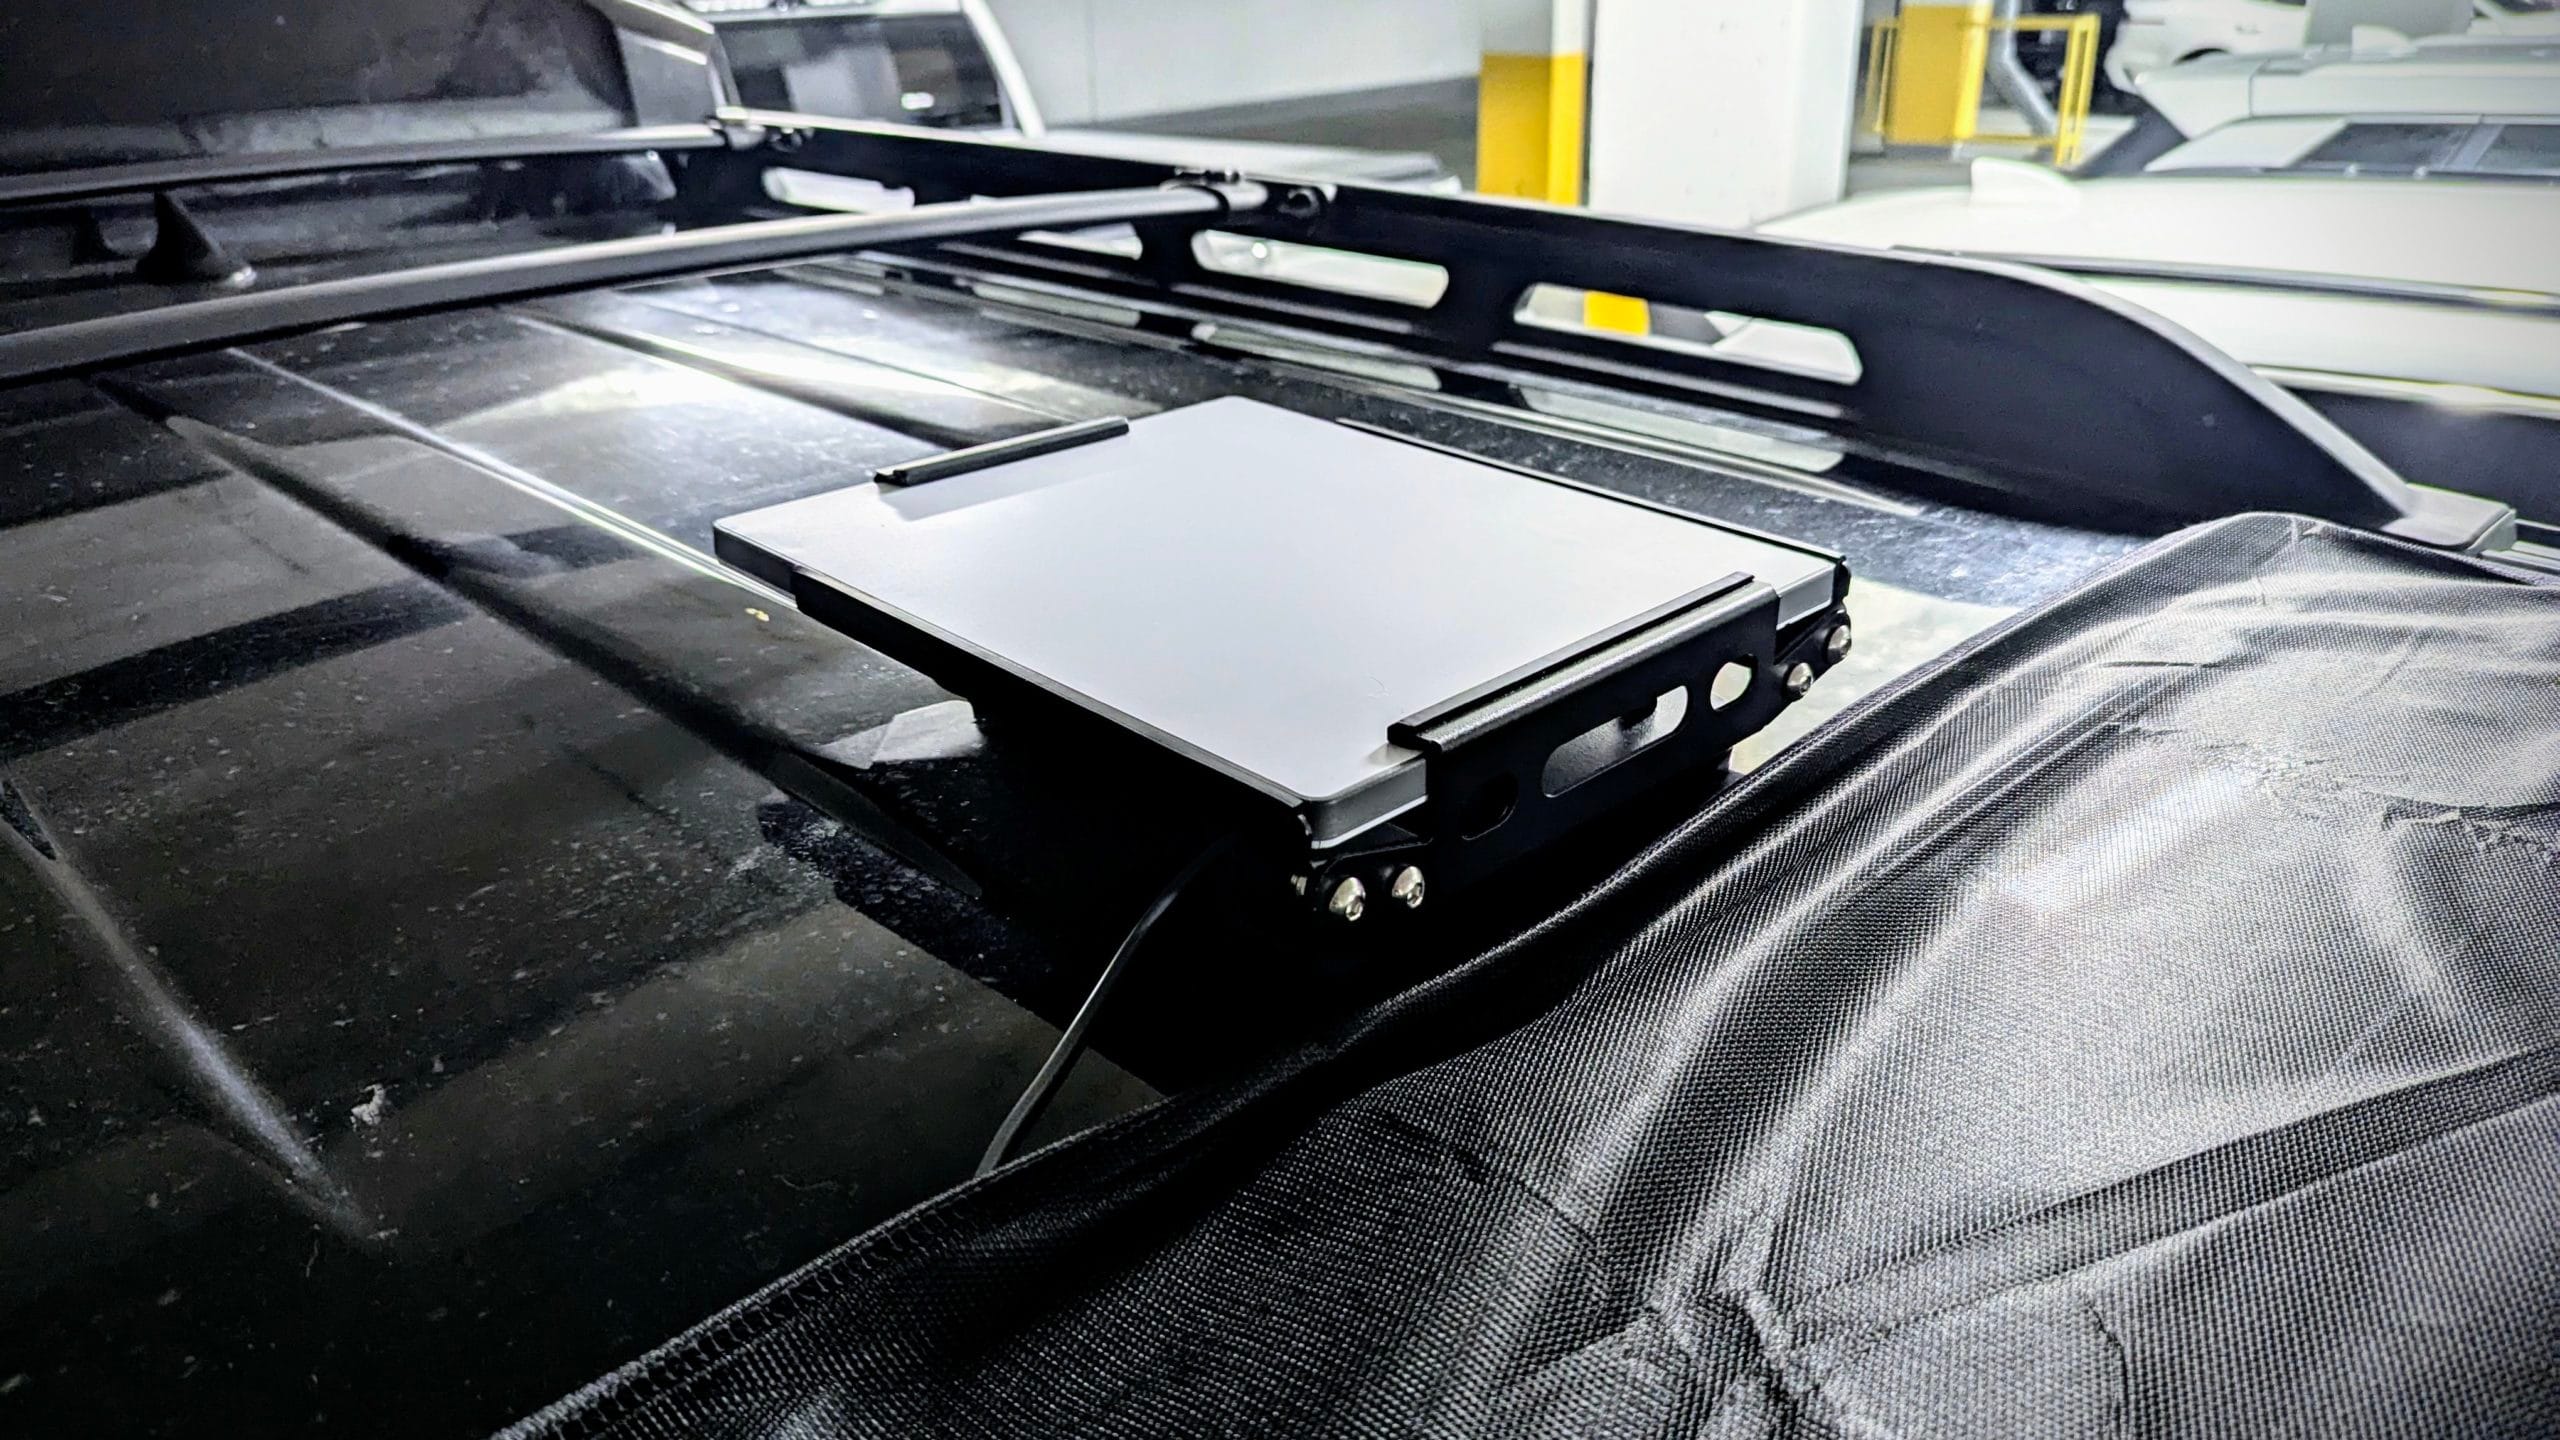
I found a awesome solution for mounting the dish to the car. Using a strong rubber coated magnetic bracket that the dish gets bolted into, I can snap the dish to the roof of the car, and it DOES NOT MOVE!
I’ve tested it travelling out to Harrison at speeds typically as fast as I would ever go, and it didn’t budge at all. Below you can see the dish in the bracket, along with my initial test on my home fridge.
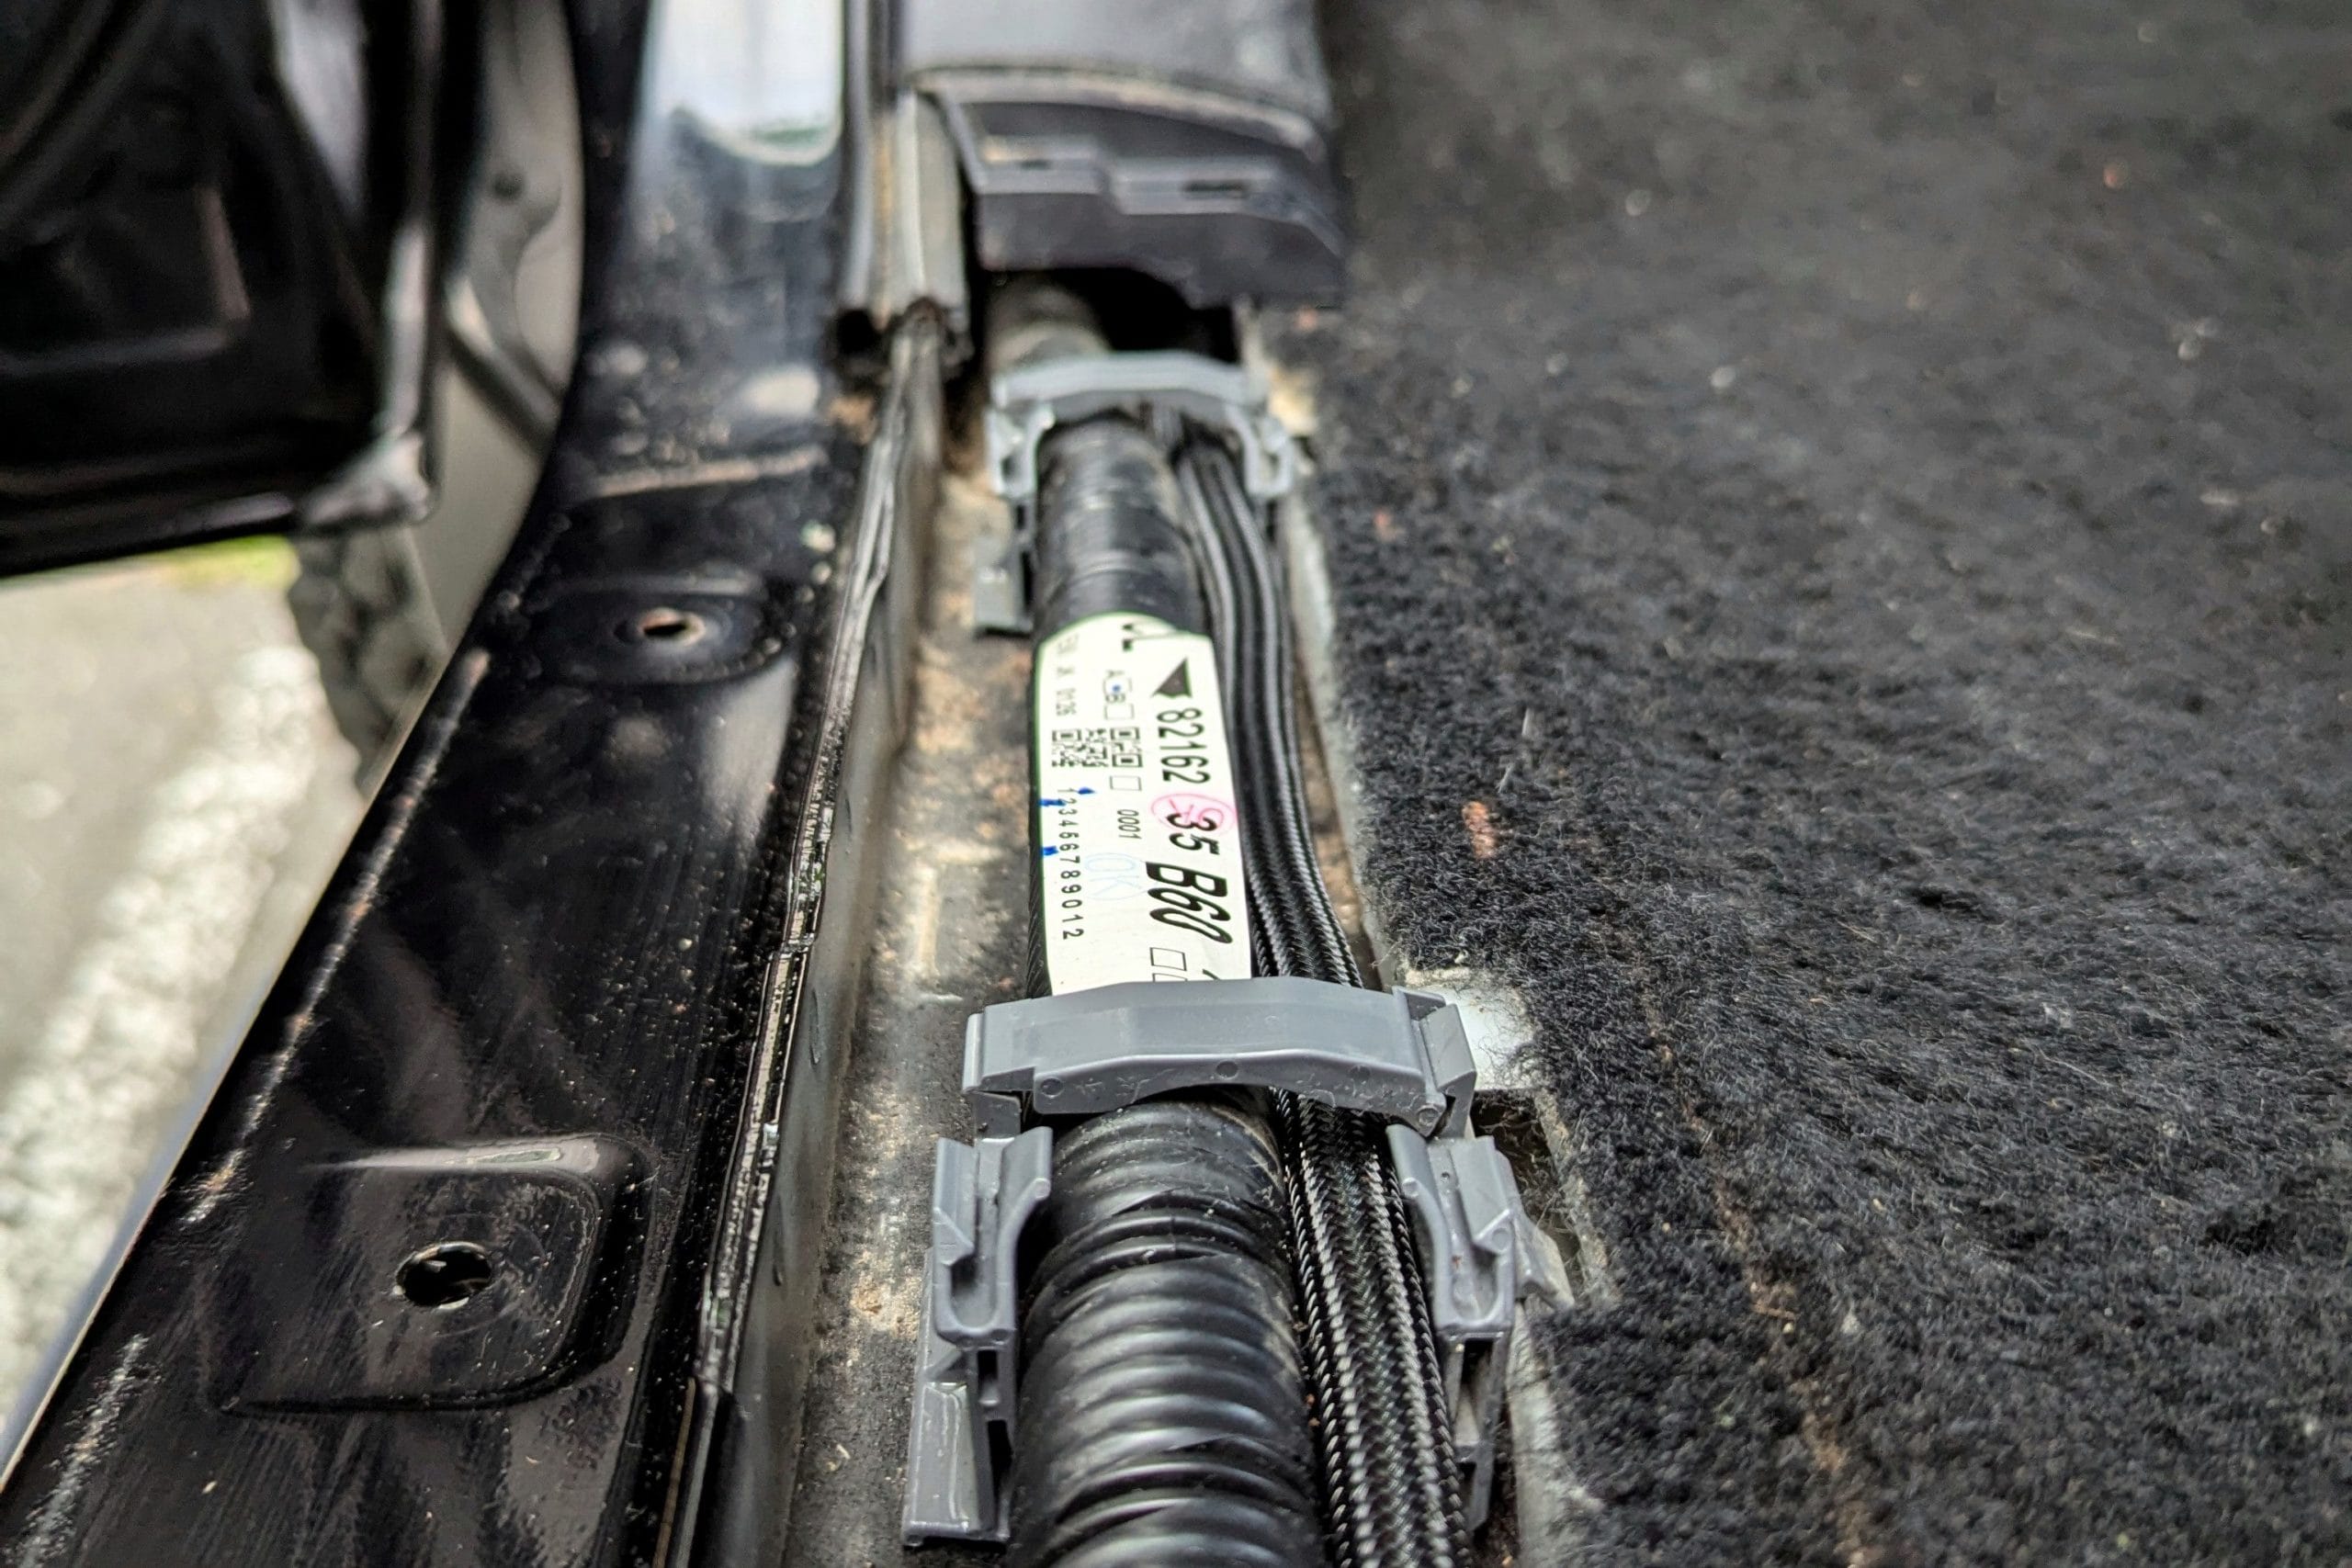
With the dish installed to the roof, I simply need to run the power cable from the interior of the car to the unit. I opted for a pretty basic solution for now, some good ol duct tape to hold the cable into a spot on the door frame where it’s not get jammed.
The remaining setup at this point was just configuring the dish via the phone app, which allows me lots of control over the network and it’s activity.
Results
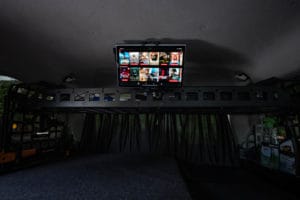
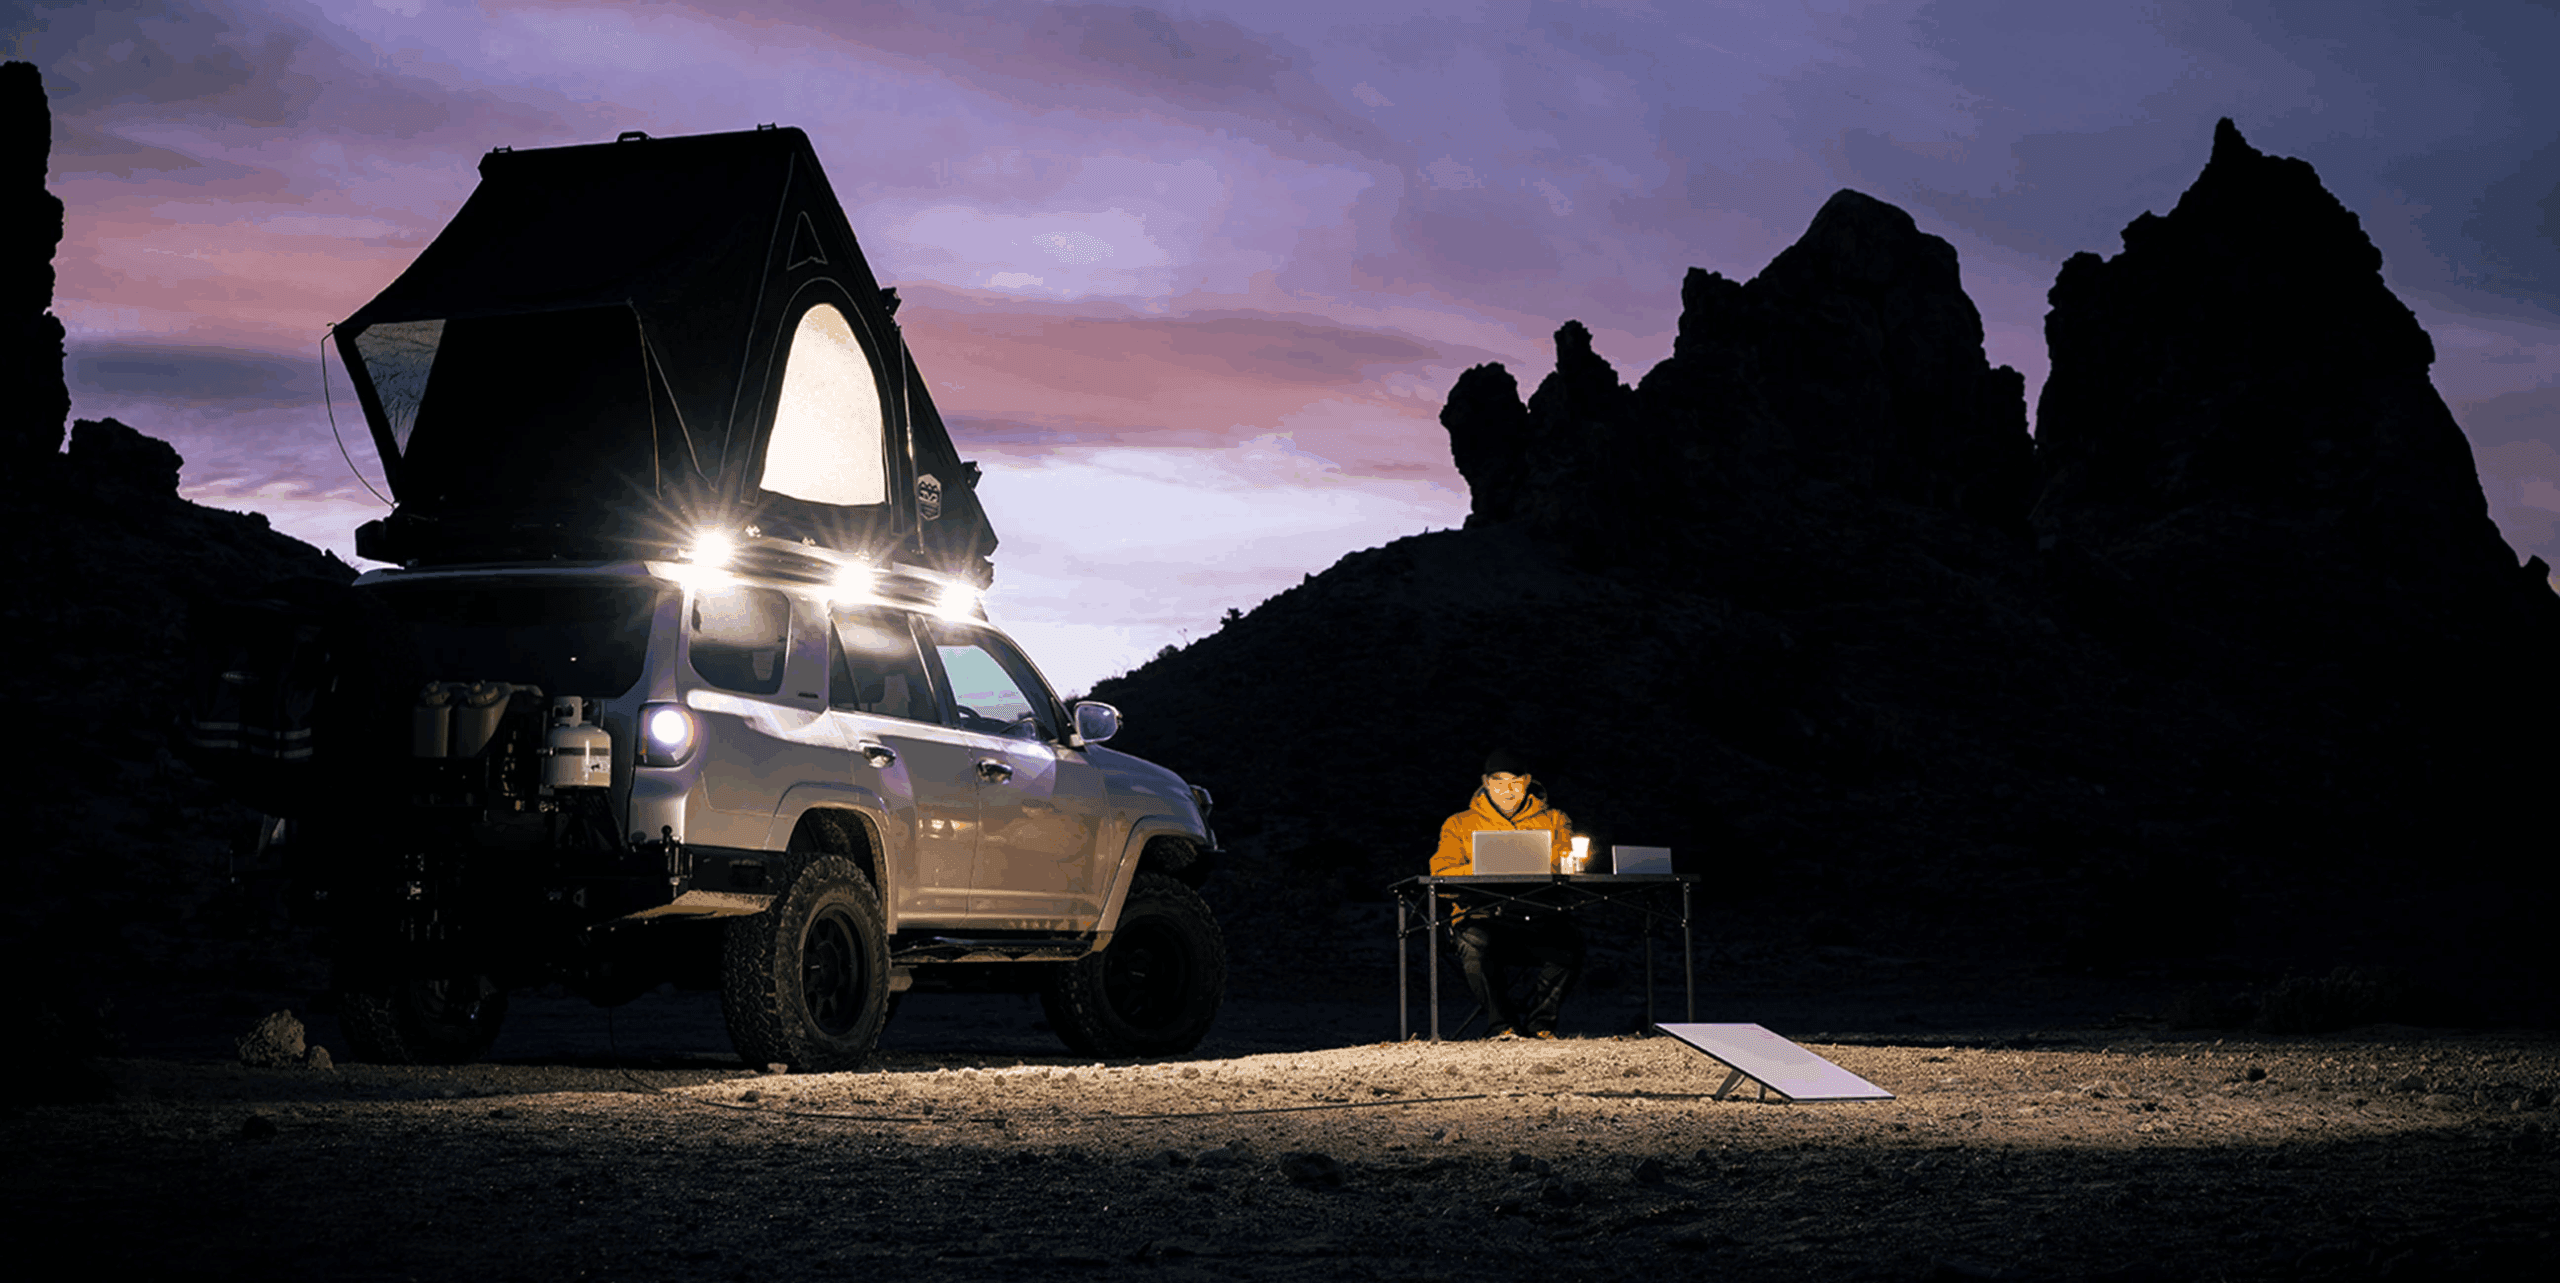
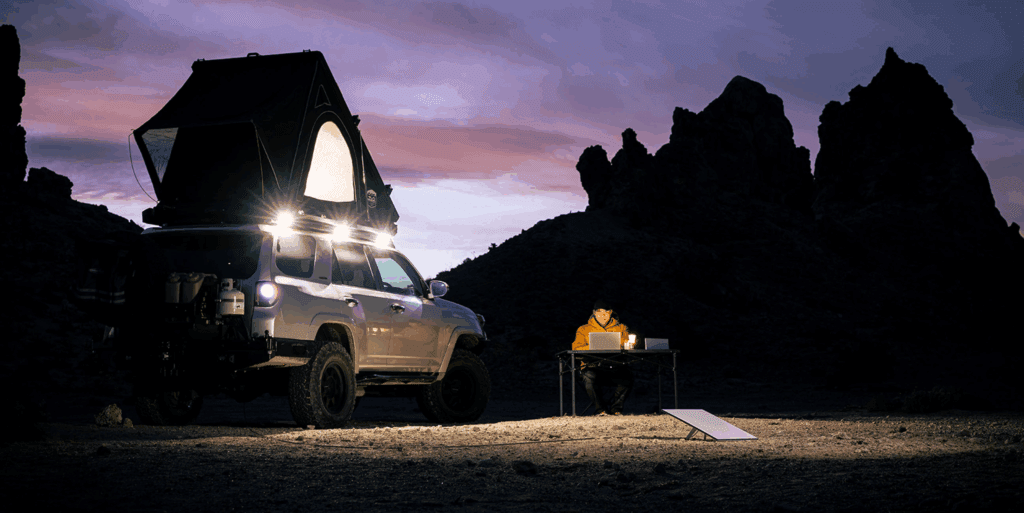
Overall the setup works amazingly well! I proceeded to put it on trial on a recent mountain top trip, and I was able to enjoy Netflix without interruption, have several Messenger video chats with friends, and in the following morning proceeded to remote into my Montreal workstation, and perform some intranet work without it ever feeling like I was somewhere we getting any data signal was hopeful! With my personal computer on at home, I can operate my own PC at will, for which I am using AnyDesk.
Performance wise I was regularly getting around 125 – 145Mbps!
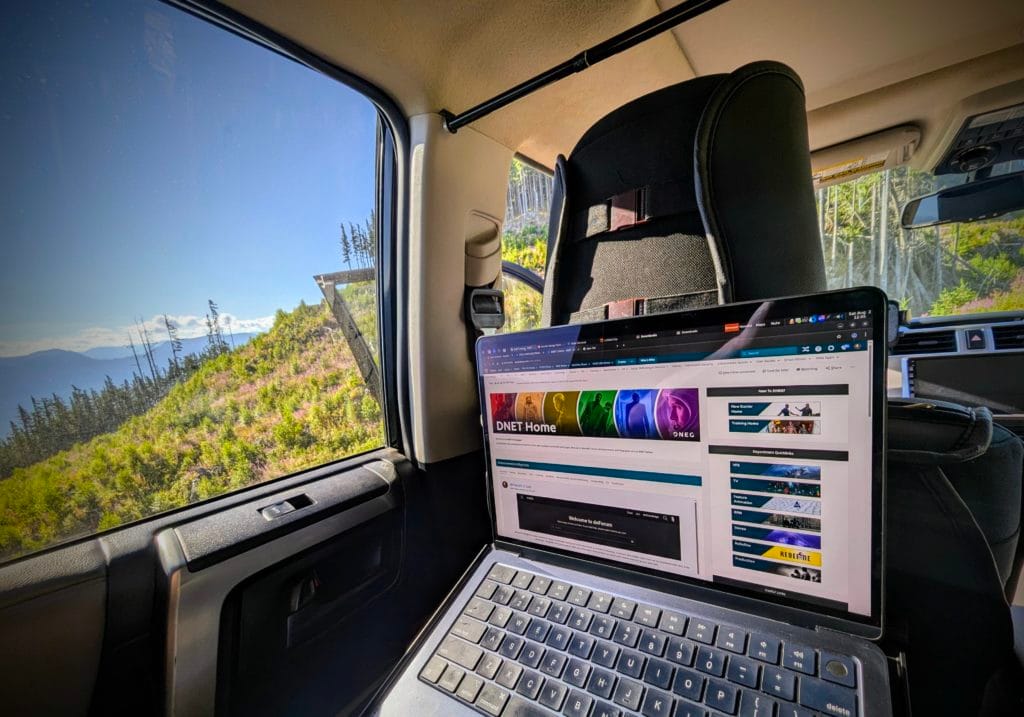
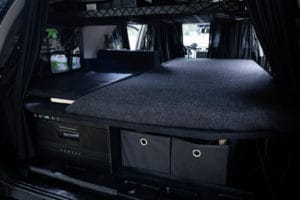
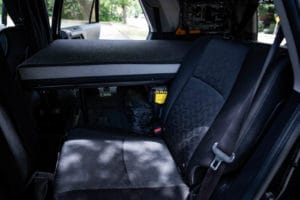
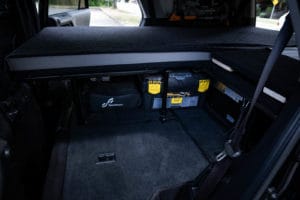
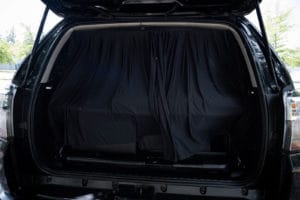
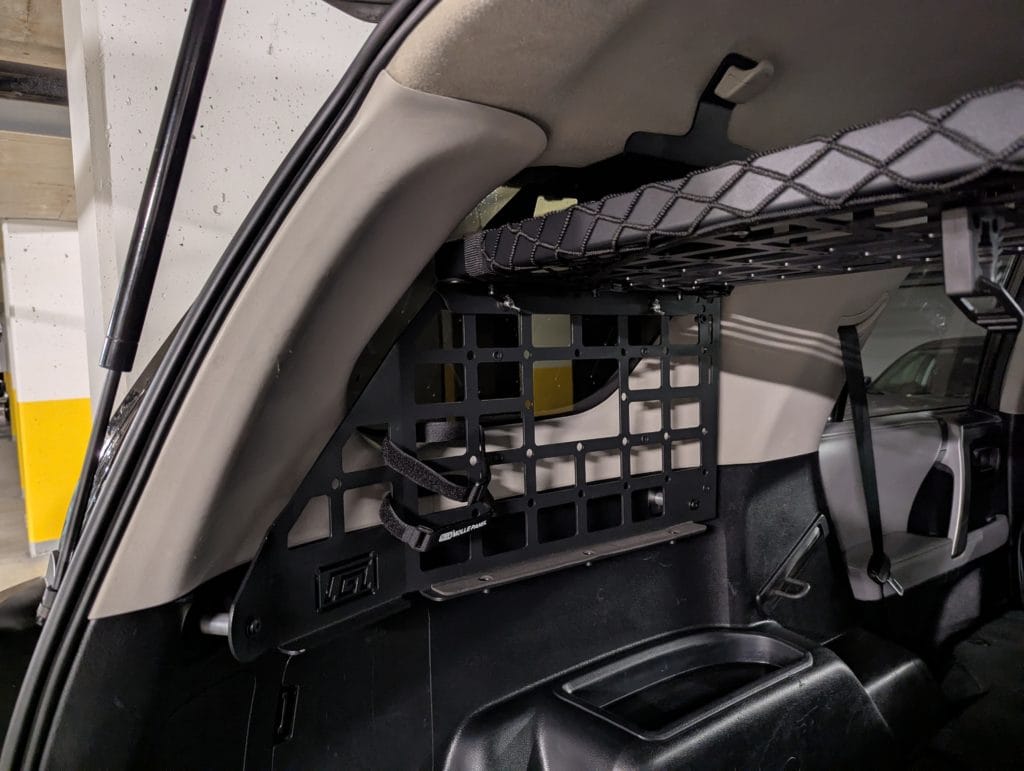
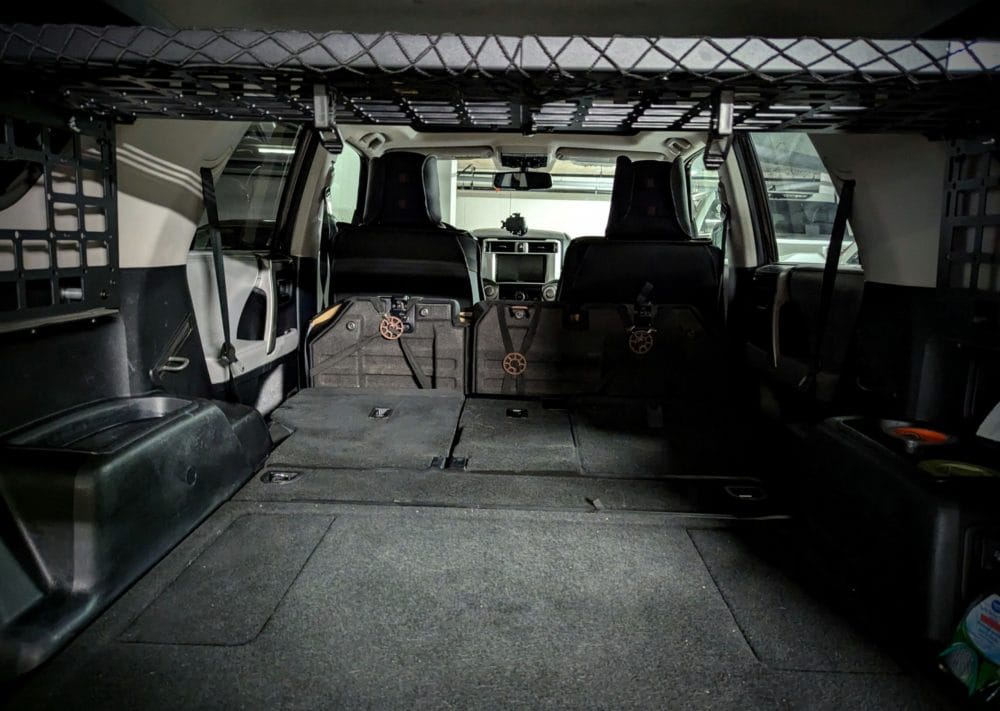
Because I had this intention from the beginning of my build, you can see in the photo above I have retained the driver’s side rear passenger setup (as noted in my earlier post on my platform build). which is setup now with a tray and power for the laptop, a mouse setup to the right on the bed, along with 20Tb of storage under the seat to wrangle footage I’ll be collecting along the way 😉
Final Verdict
If you are remote or travelling, and struggle to get quality internet… this potentially is a great option to consider!